Programming is a communication tool in modern society
Creativity allows us explore this and express ourselves through limitations
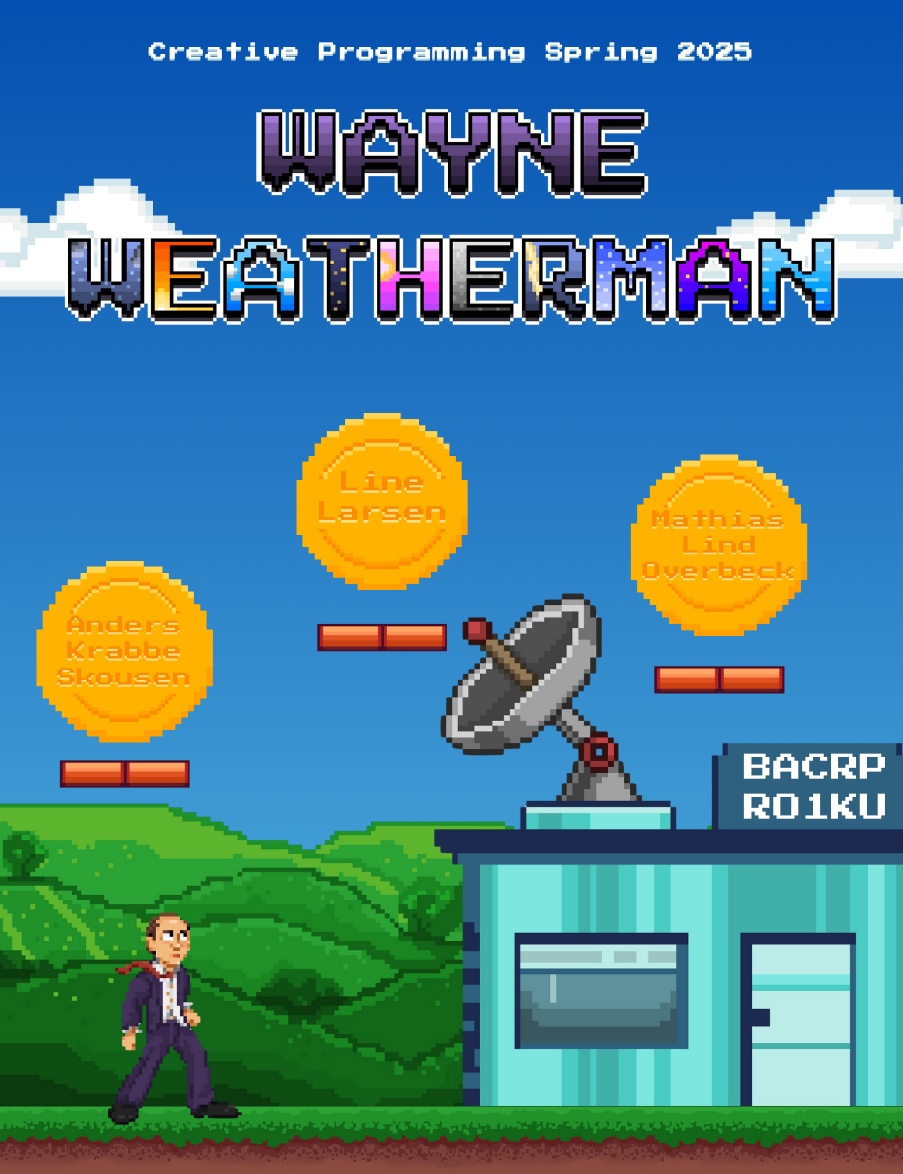
Creative Programming
Creative coders are artists, designers, architects, musicians, and poets who use computer programming as their chosen media. These practitioners blur the distinction between art and design and science and engineering […].
Bachelor in what is now DDIT. Master in design from Goldsmiths
Works as designer and fabricator in my own practice
Founding member of the interactive art collective Circuit Circus
Fun facts:
No warm weather; enjoys long distance hiking and cross country skiing.
I have a NFC chip embedded in my hand - so I’m technically a cyborg.
Axel Lolle Døring
Why I love programming
Finding novel solutions to problems
Fun facts
I wear a dress shirt every day
I have a christmas movie spreadsheet
Kirstine Lund Hansen
Studied BDDIT and beginning my KDDIT thesis
Coding can be thought of as the moldable material we are working with as interaction designers
I’m looking forwards to sharing my experiences and seeing your projects unfold!
Line Larsen
2nd year BDDIT
DDIT is my third started bachelor’s degree (SWU and psychology)
I am OBSESSED with Baldur’s Gate 3
When, What, Where, and Who
Generally (but check the course plan!)
When
What
Where
Who
Tuesday 8:00-12:00
Lectures
5A14-16
Ties
Thursday 12:00-16:00
Exercises
5A14-16
TAs
Lectures
Lectures are long 4-hour sessions; we will try to keep it interactive
Lectures include both background and live coding
It will be very hands on during the lectures. You need a working coding environment so you can follow
The exercises are introduced but not elaborated upon in the lectures
Exercise Sessions
Exercise Sessions are mandatory, TA-led sessions
Important for getting started with bi-weekly assignments, getting help, and working with your groups
There are four exercises to introduce you to programming, after which we start spending more time on the project
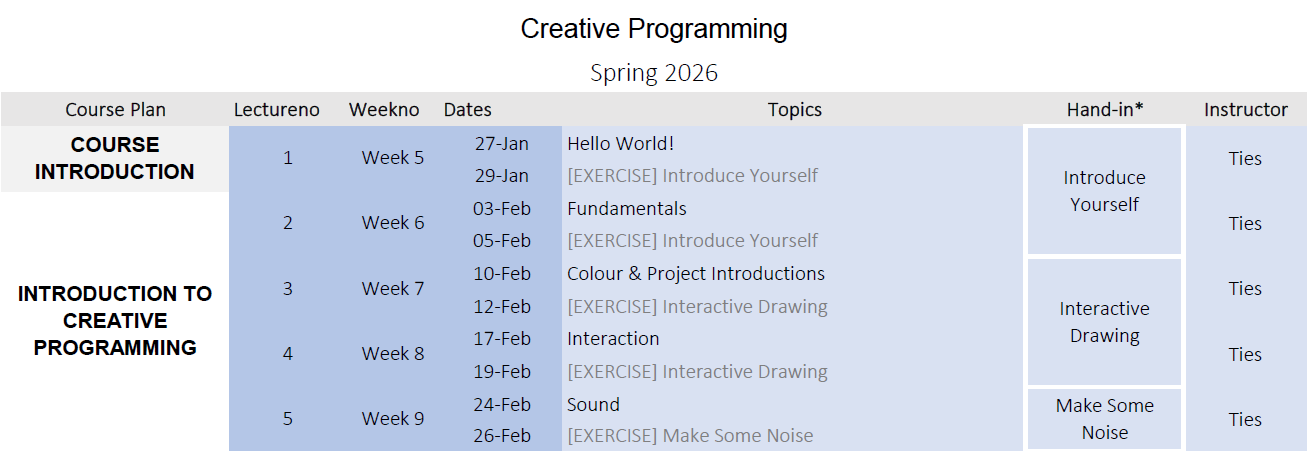
Course Plan
The Project
This course is built around a group project with 3-4 people.
Throughout the semester there are several milestones
As the semester goes on you spend less time on exercises and more on the project
Project Timeline
When
What
Tuesday Week 7
Group and Project introductions
Tuesday Week 10
Milestone 1: Present Project Concept
Thursday Week 15
Milestone 2: Present Project Progress
Tuesday Week 19
Milestone 3: Final Presentation
Friday Week 22
Report Hand-in
Project Deliverables
Description of the creative programming process
Technical details of your interactive data representation
Audiovisual documentation of the final project
Presentation at a closing event
Please note: during the design process, the only evaluations that you will do are by you yourself as designers in your creative programming experiments!
Examination
Exam type
C1G: Submission of written work, internal (7-trinsskala) How well you have attained the ILO’s of the course
Report
12 pages group report Documenting the group project Including 1-page individual reflection per member Including individual reflection on the process
Hand-in
Fri, May 29, 2026 (14:00)
Course Goal
Programming Fundamentals
After the course, the student should be able to:
Apply programming fundamentals in a creative programming environment.
Programming Creatively
After the course, the student should be able to:
Program creative and interactive artifacts using P5.JS (in JavaScript)
Understanding Code & Applications
After the course, the student should be able to:
Analyze and describe creative programming projects.
A Critical Approach
After the course, the student should be able to:
Use programming as a tool to communicate your perspectives on a pressing issue in a broader society.
Individual Reflection
After the course, the student should be able to:
Reflect on the principles and issues underlying a creative programming process.
Why should we care?
Develop your programming skills – work more with code.
Develop your creative programming skills – explore and experiment through code.
Approach data & code as design materials.
Nurture your ability to develop a creative practice.
Articulate your creative design process and reflect
Classroom Culture
Be creative with programming and data.
Use programming as something to explore, not just a final tool.
Focus on the process, not skill levels.
Support each other and learn together.
Try to solve problems together!
Artificial Intelligence
There are a lot of AI tools out there, also for programming
The issue is that when you use AI, you do not fail, which hinders learning
Do not fear to make mistakes!
If you need to use AI, limit it to using it as a search engine
Programming Experience
Programming is a skill that requires a lot of “miles” and practice.
Have you programmed before?
The menti results are available on LearnIT.
Course Structure
LearnIT
Main channel for communication
Course program and planning
Every lecture/exercise has its own section
Direct links to slides other resources
GitHub
GitHub is a place where people can put their code projects
For this course: Lecture slides and resources are hosted there (but LearnIT has links)
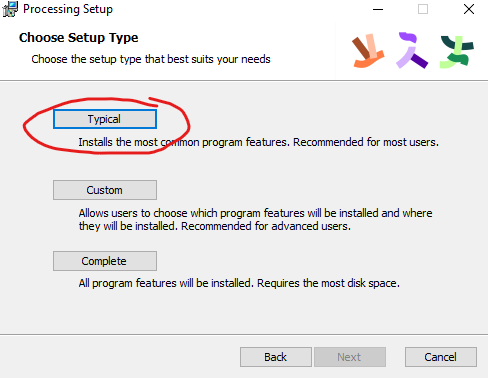
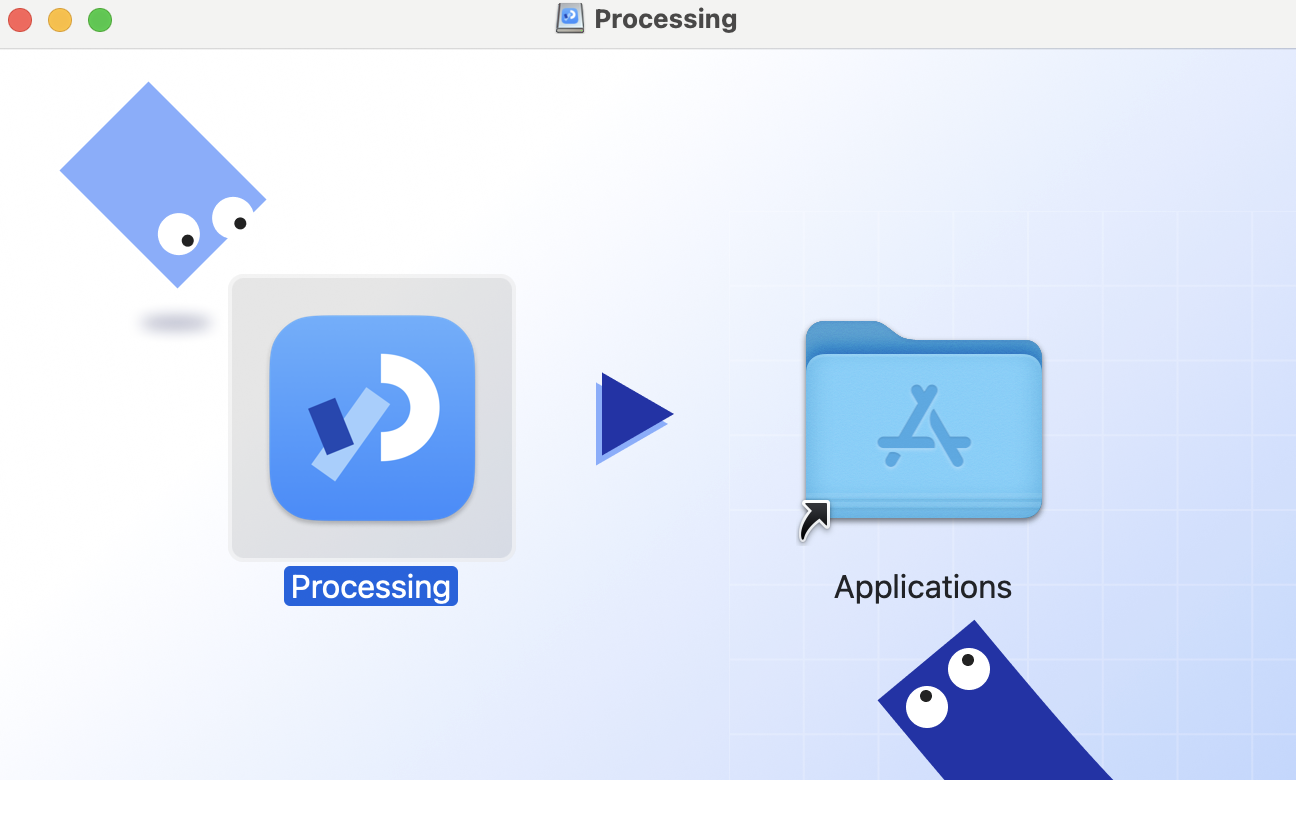
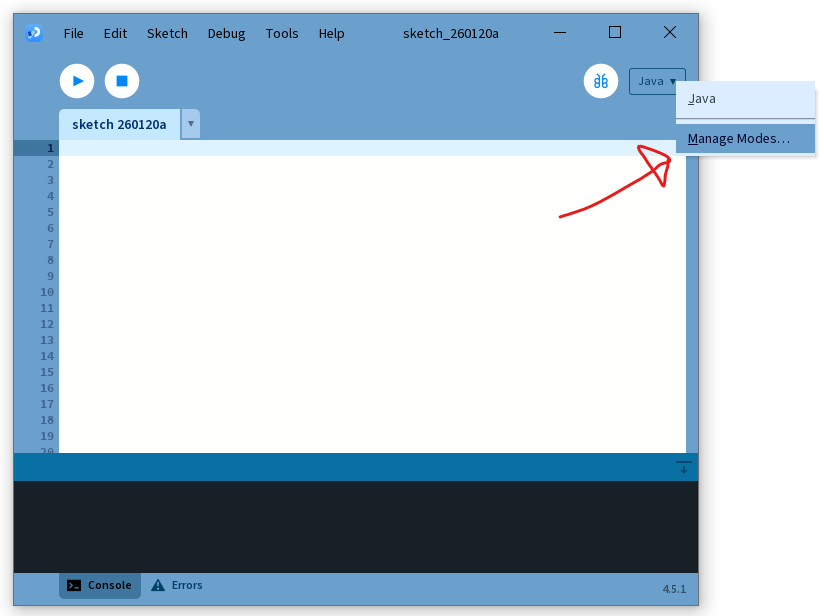
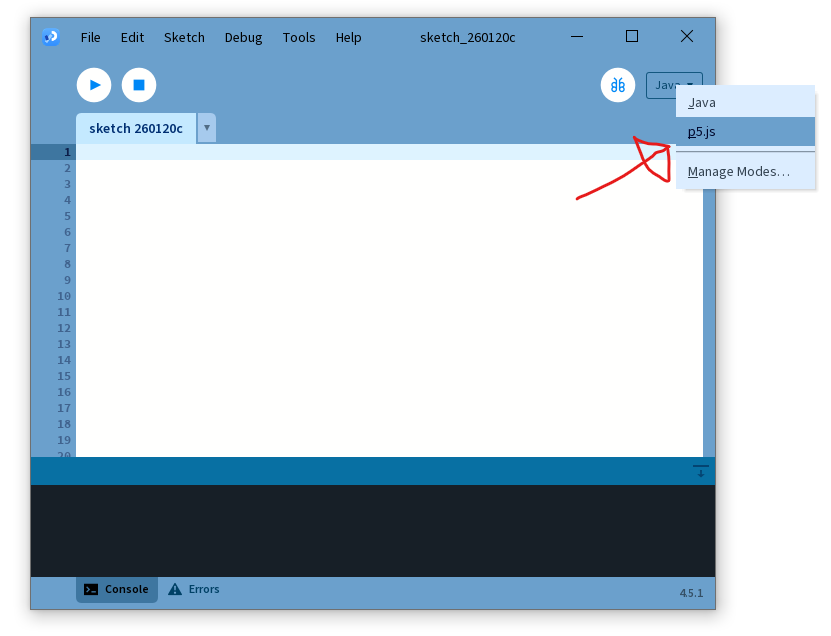
Open Processing, click away the welcome message, and select “Manage Modes” in the top right.
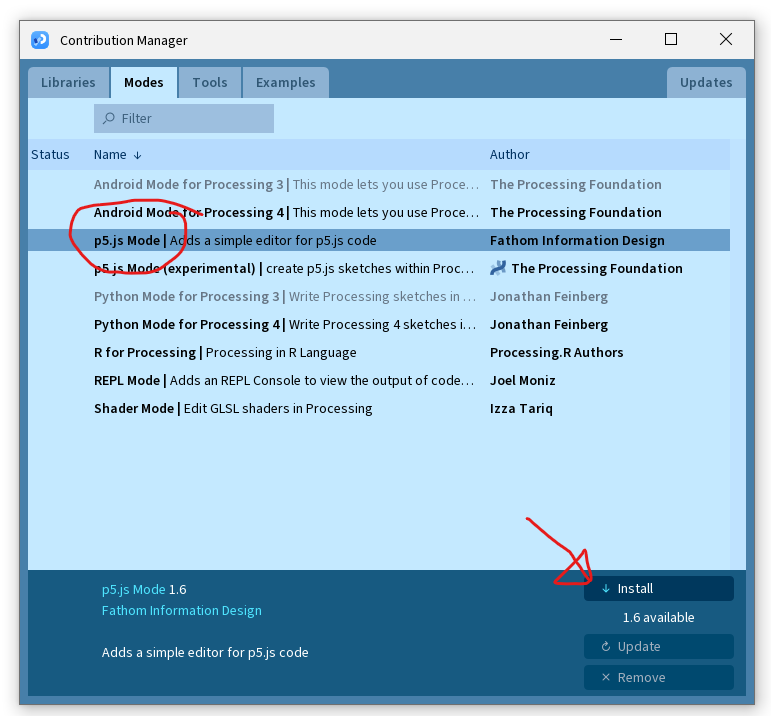
Step 4: Install Mode
Select and install the p5.js mode.
Step 5: Select Mode
Back in the editor, select the p5.js mode.
Creative Programming: Let’s get coding!
Make sure you have your Processing editor running and ready.
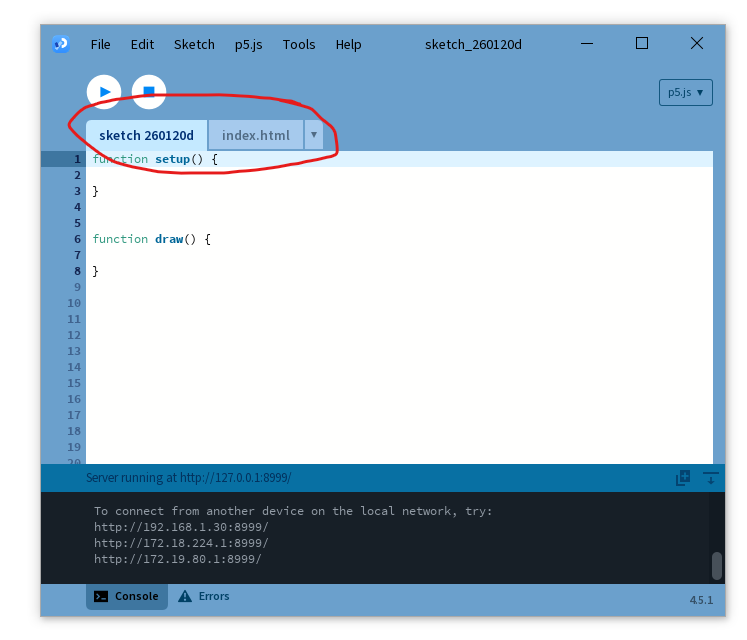
Sketch and index.html
Our p5.js sketch has a sketch (javascript) file and an index.html file.
We will just focus on the sketch file (for now).
Saving a sketch will result in a folder with both these files.
Let’s open an example
There are a bunch of examples available inside of the editor.
Double click an example to open it up.
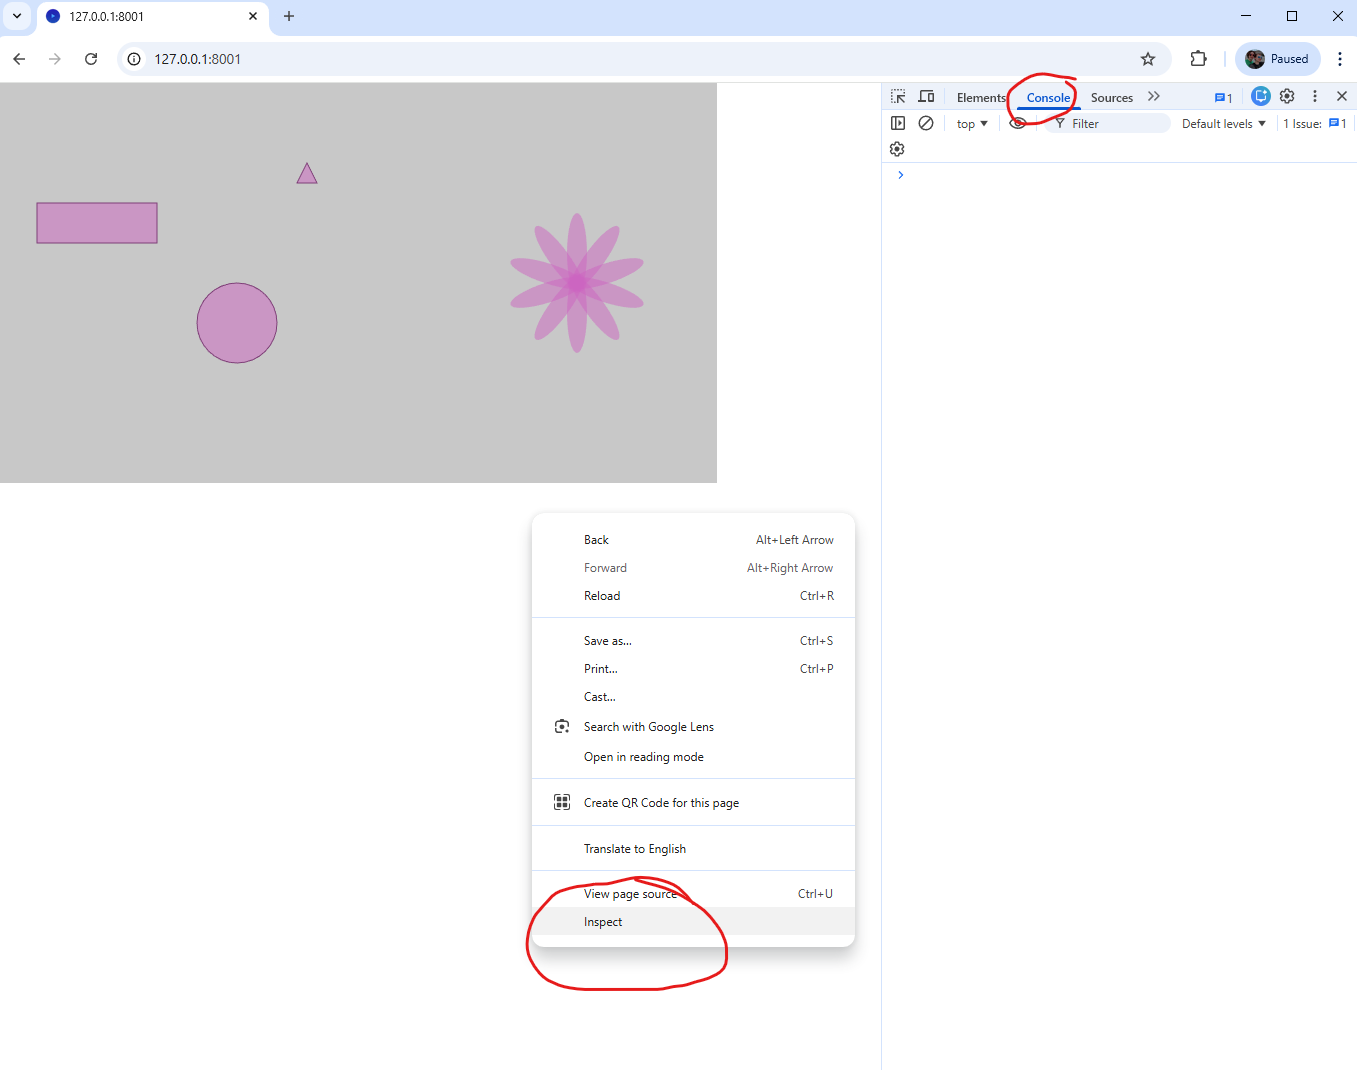
Running your code
Running the code (▶) opens up your web browser.
Javascript is a website language.
Right mouse button -> Inspect to see any errors or other console output.
What runs your code
Every Sketch starts with two functions: setup and draw.
functionsetup() {// initialize variables// create canvas}functiondraw(){// execute repeatedly (in a loop)}
setup() runs once at the start of the sketch.
What runs your code
Every Sketch starts with two functions: setup and draw.
functionsetup() {// initialize variables// create canvas}functiondraw(){// execute repeatedly (in a loop)}
draw() runs forever, repeating continuously.
A single message
console.log() allows us to write a message to the debugging console.
functionsetup() {console.log("Hello! This executes once.");}
This is very useful for when you are trying to get rid of issues (bugs) in your code.
Let’s break this down
console.log() is the function that writes a message. The message it writes is the argument that is within ( ... ).
"Hello! This executes once." is a string, a sequence of characters. Strings are surrounded by " to signify their start and end.
Message waterfall
Let us now move our console.log() to the draw() function instead.
functiondraw() {console.log("Hello! This executes multiple times.");}
Javascript syntax
Lines end with a semicolon (;) to indicate the end of the instruction.
Comments (//) are invaluable to explain the inner workings of the code to the reader.
Multiple lines can be commented as well, via (/* */)
Comments
functionsetup() {// this should send a single messageconsole.log("Hello! This executes once.");}functiondraw(){/* this executes repeatedly (in a loop)TODO: maybe change this because it might be too much! */console.log("Hello! This executes multiple times.");}
Remember to comment your code to make it legible to someone else (and your future self!).
Making mistakes
Making mistakes is human. What happens if we forget the second " in our code?
functionsetup() {console.log("Hello! This executes once.);}
The code does not know where the string ends, resulting in a syntax error.
The canvas
Things are positioned on the canvas using coordinates, top-left is (0, 0)
x is the horizontal position and y is the vertical position
Defining the canvas
In our setup() (only once), we define the size of the canvas
createCanvas() requires two arguments:
w (width horizontal) and h (height vertical) specify the size of the canvas
Making a mark
We can draw a point with the point() function with two arguments
The point will be tiny; use strokeWeight() to define the thickness
Drawing a rectangle
Drawing rectangles with rect() requires 4 arguments
You need to specify the top left x and y as well as the width w and height h
Drawing round shapes
circle() draws a circle with 3 arguments: x, y and size
ellipse() draws an ellipse with 4 arguments: x, y, w, h
A brief note about colour
We have used background() and fill() so far to add colour
These take three arguments to define the colour we want to draw
functionsetup() {background(red, green, blue);// Alter the colour of the backgroundfill(red, green, blue);// Alter the colour of new shapes}
The order is red, green, blue; a higher value indicates a stronger intensity of that color
We will more thoroughly discuss colour in a future lecture
Moving our text to the canvas
text() puts our text on the canvas, with the args being the text string, and position x and y
We use textSize() before drawing to set the size of the text
What about interactivity?
So far we have discussed ways of drawing static shapes
In preparation for the first exercise we will briefly discuss two ways of creating dynamic drawings
We will use random() to generate random numbers
mouseX and mouseY allows us to use the position of the mouse
Random
random() generates a random number that we can use e.g. as an argument for drawing
Two arguments: the first is the lowest number and the second the highest number it can generate
Mouse
mouseX returns the horizontal x position of the mouse and mouseY the vertical y position
As with random(), we can also use these numbers in math


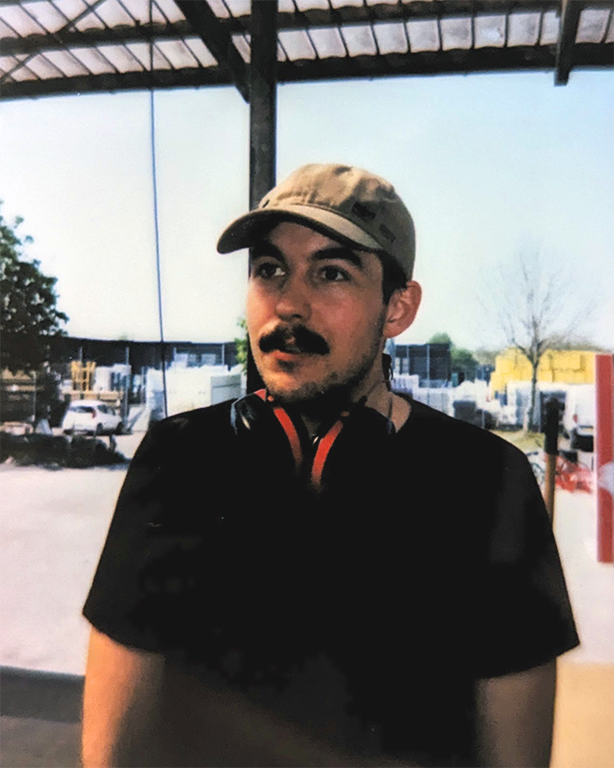
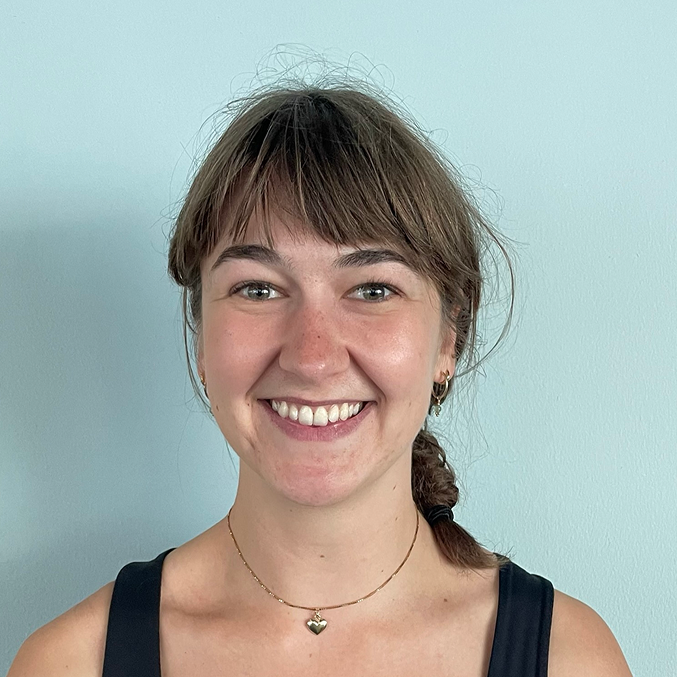
 Ties Robroek
 Thomas Sandahl Christensen
 Axel Lolle Døring
 Kirstine Lund Hansen
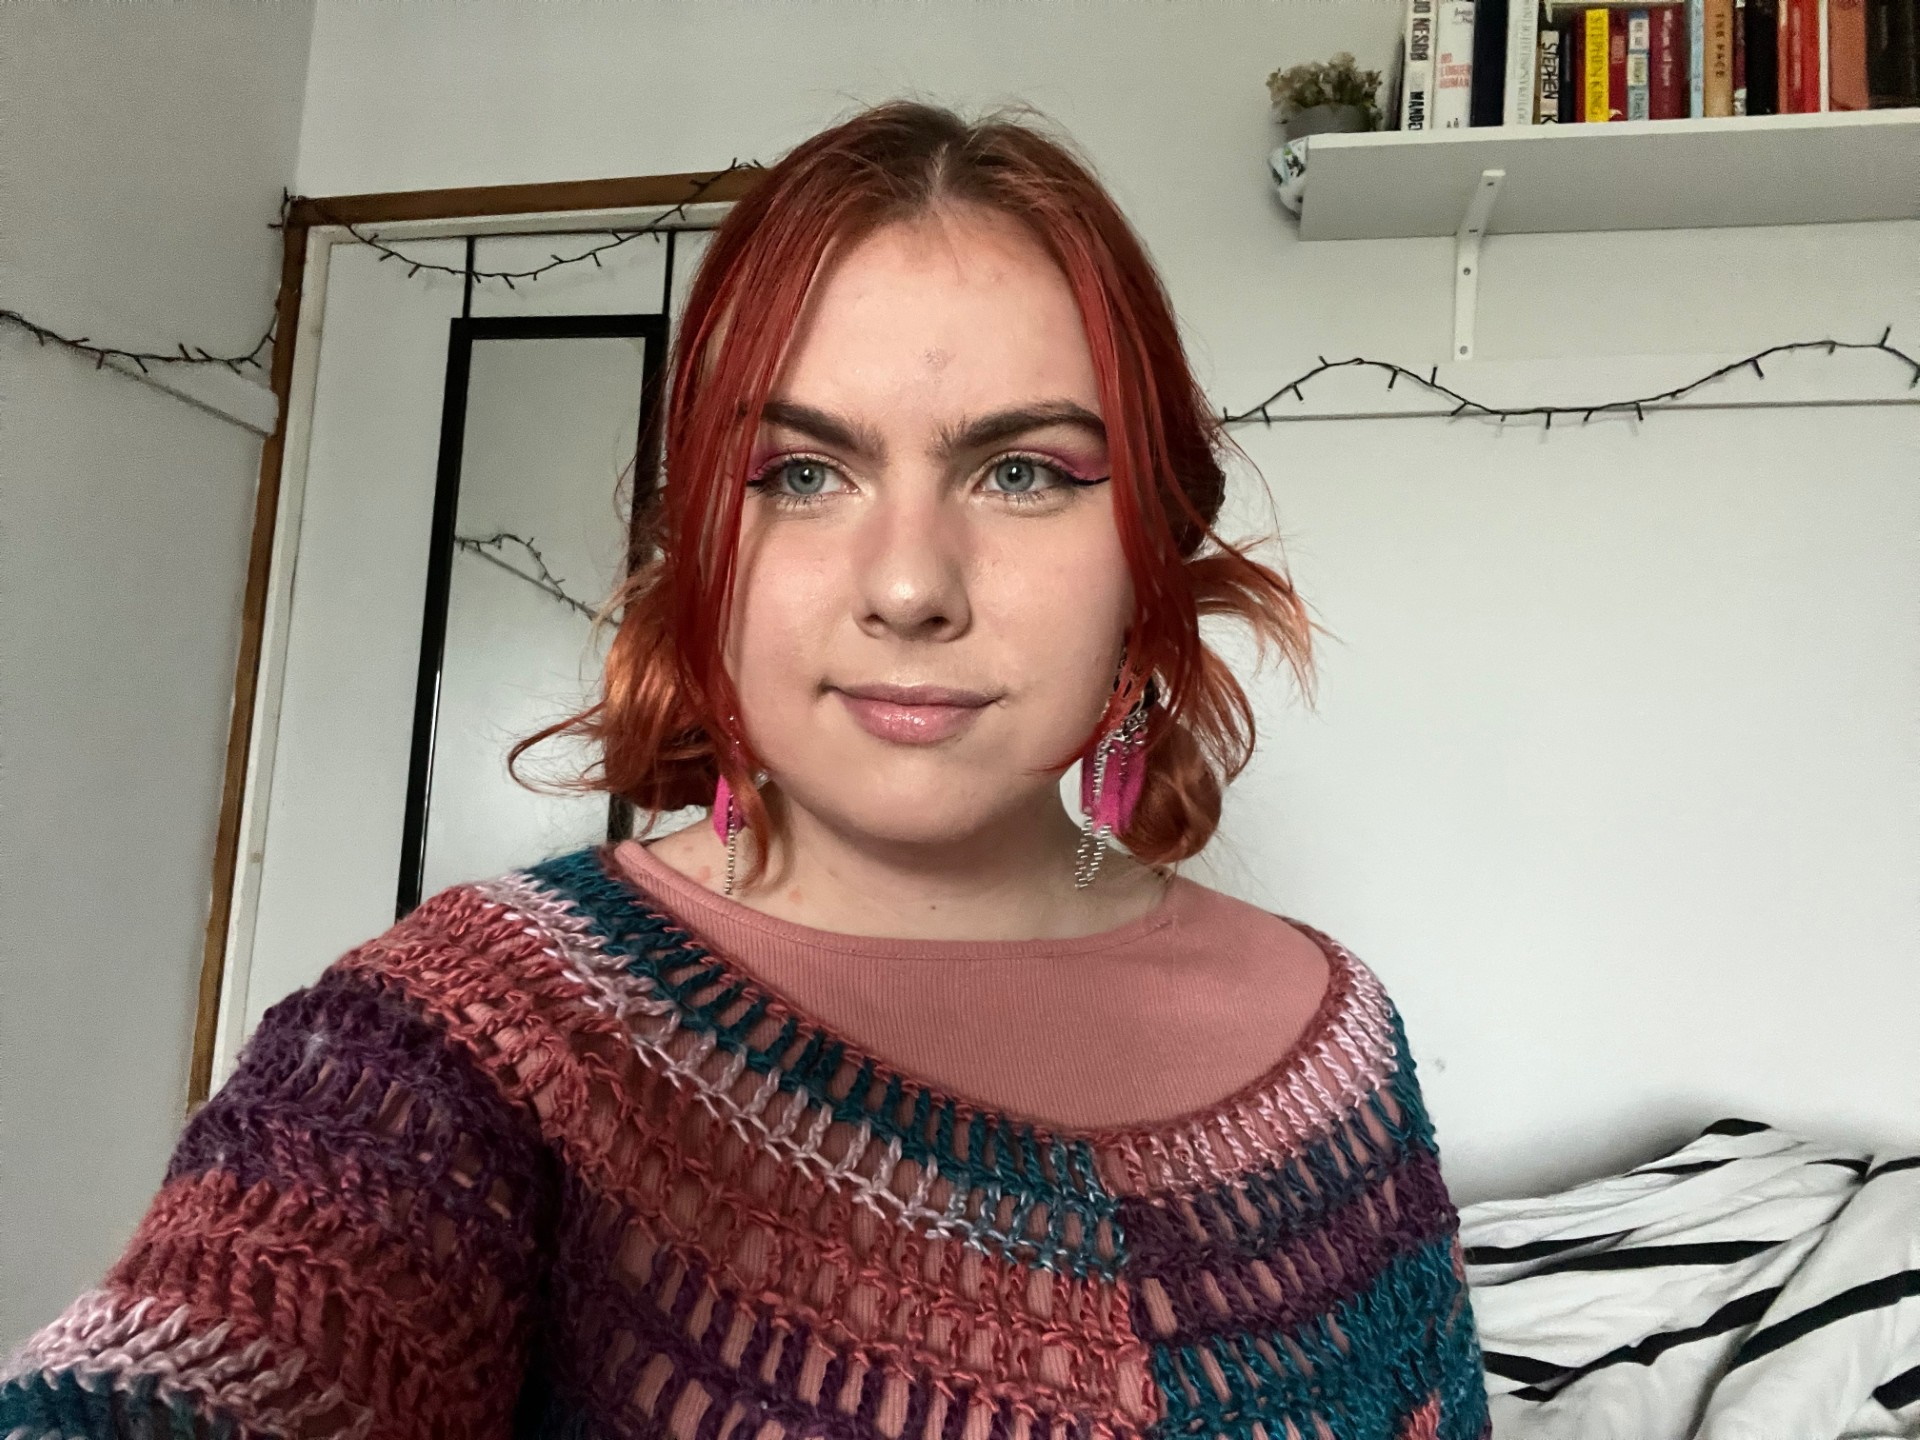 Line Larsen


Comments
Remember to comment your code to make it legible to someone else (and your future self!).