Creative Programming: Colour
Lecture 3 (10 Feb)
(Re)visiting slides?
You can jump to any slide with the menu to the (bottom) left.
Did you miss a slide or want to revisit? Open the narration tab while studying to get an explanation of difficult slides.
![]()
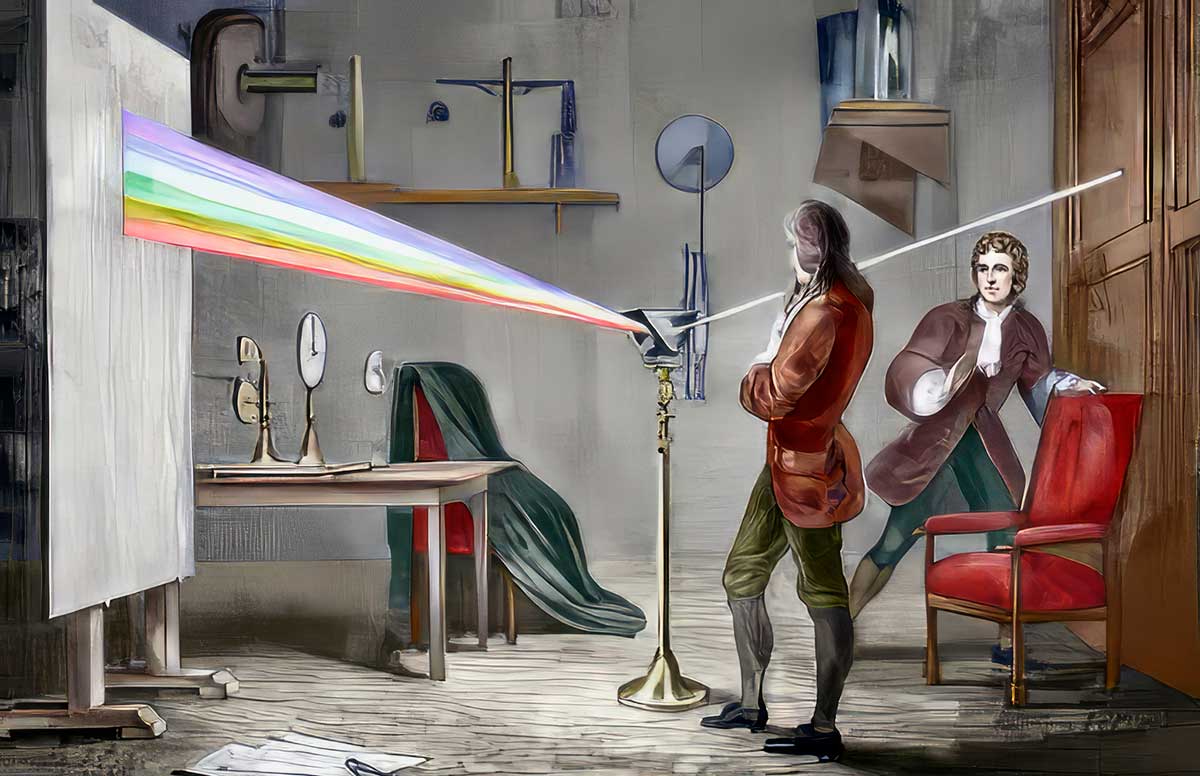
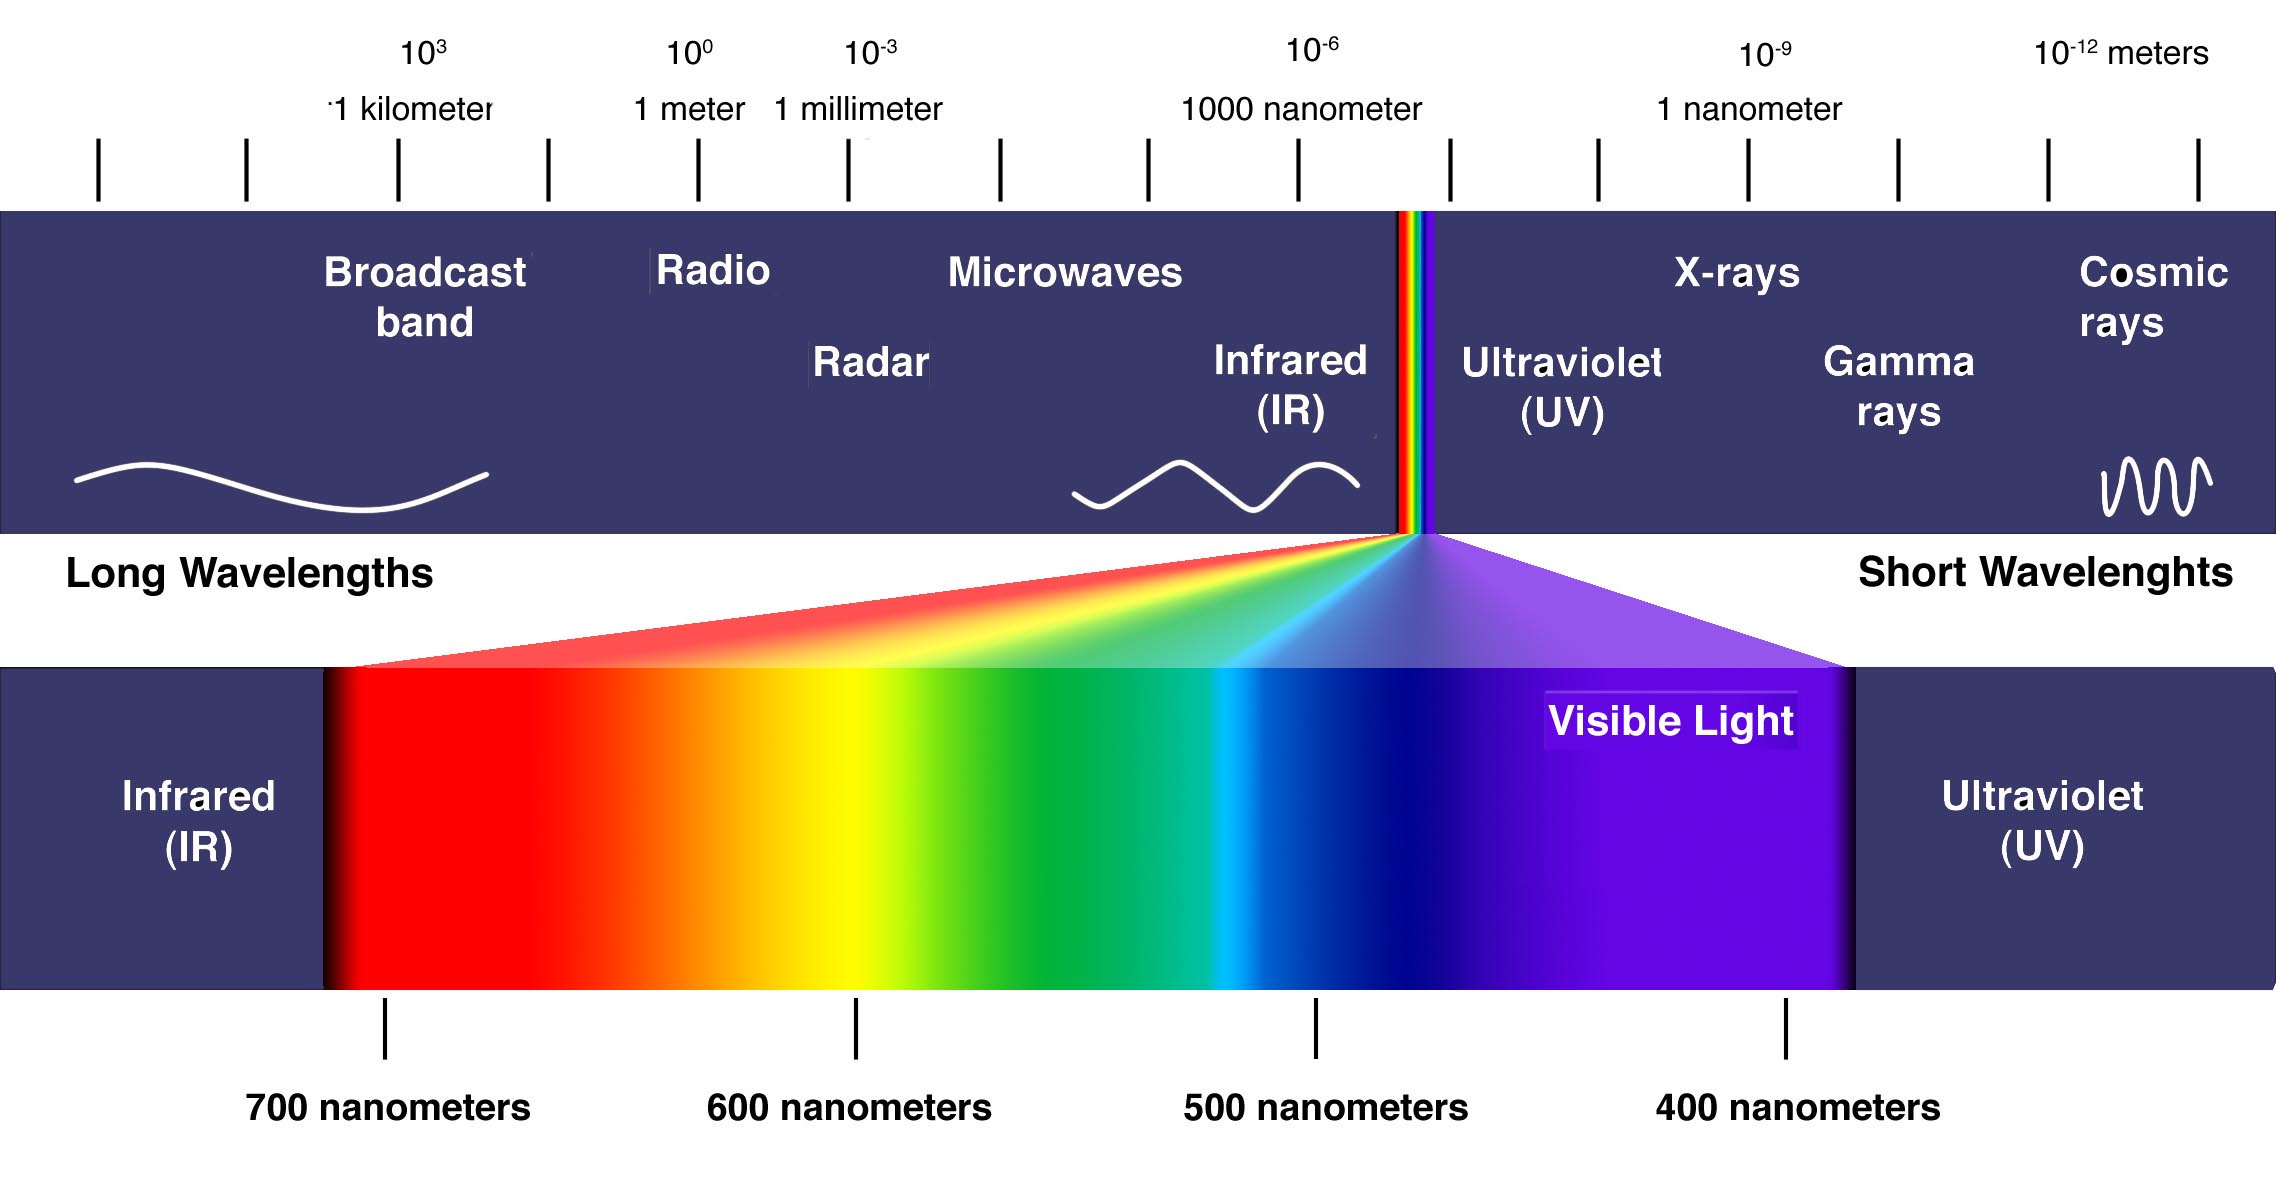
What is a colour?
Newton
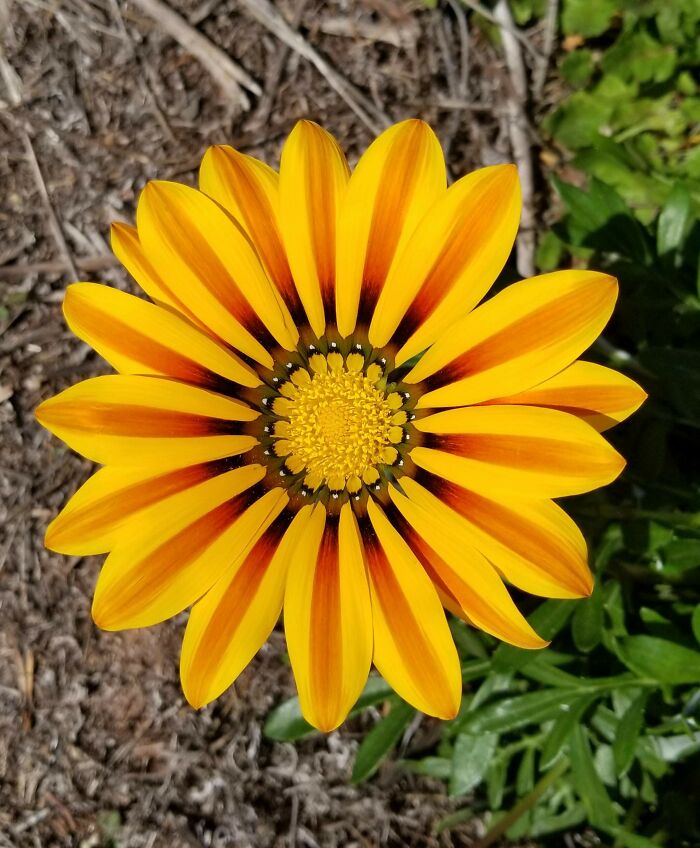
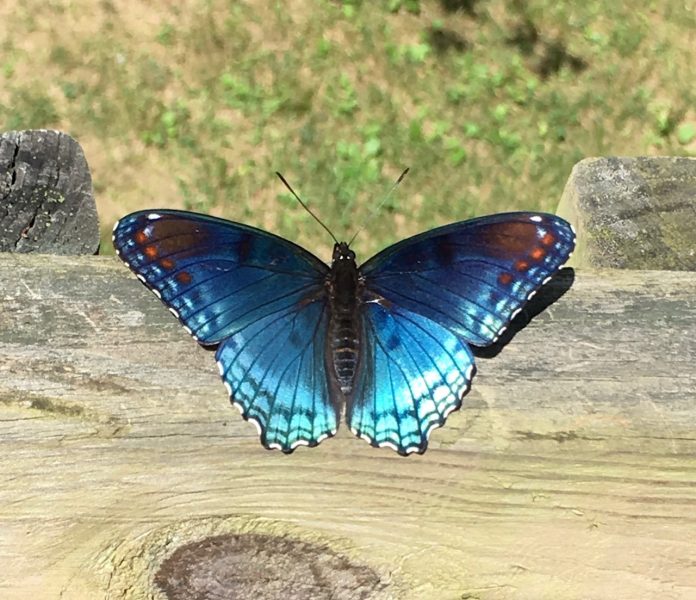
Colour in nature
Colour perception
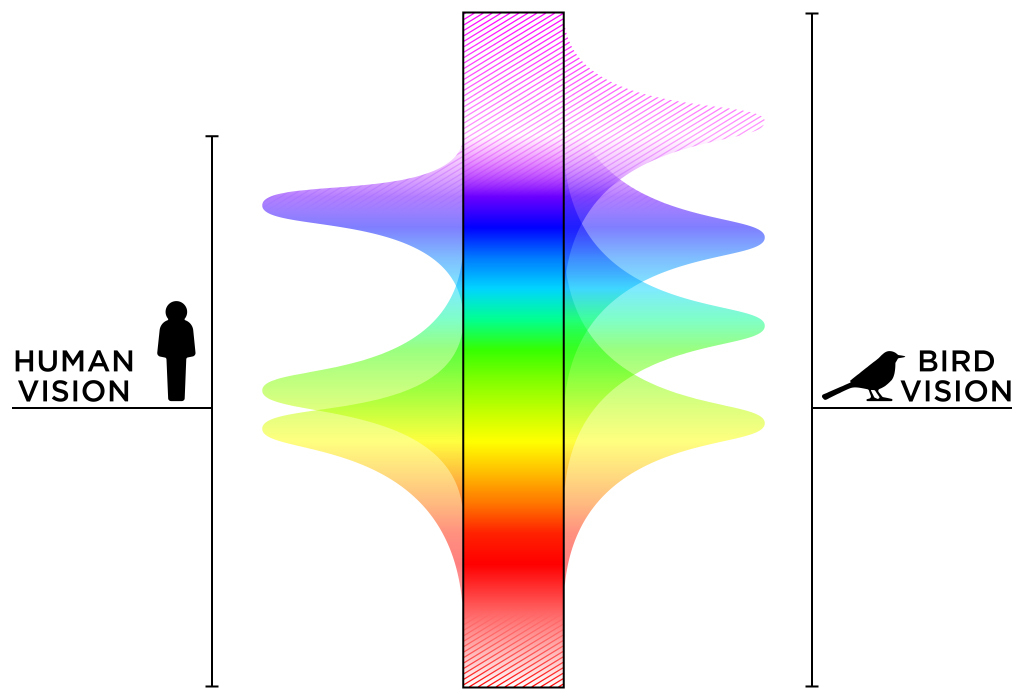
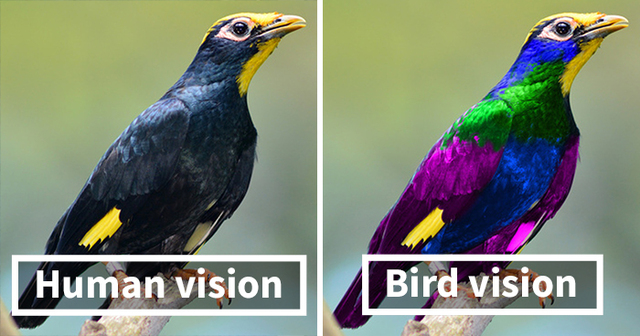
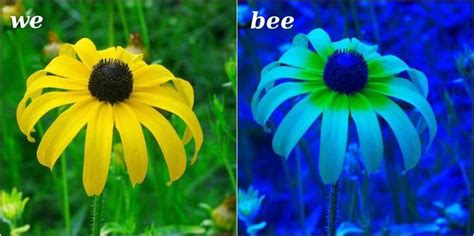
Bird vision
Bees and humans
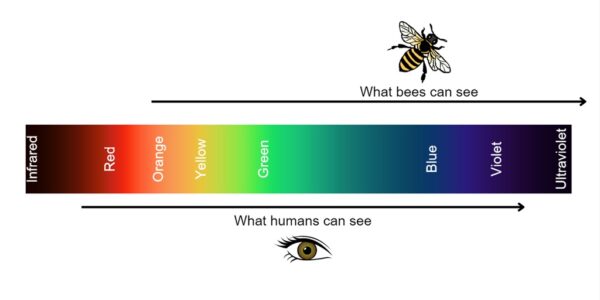
Bee vision
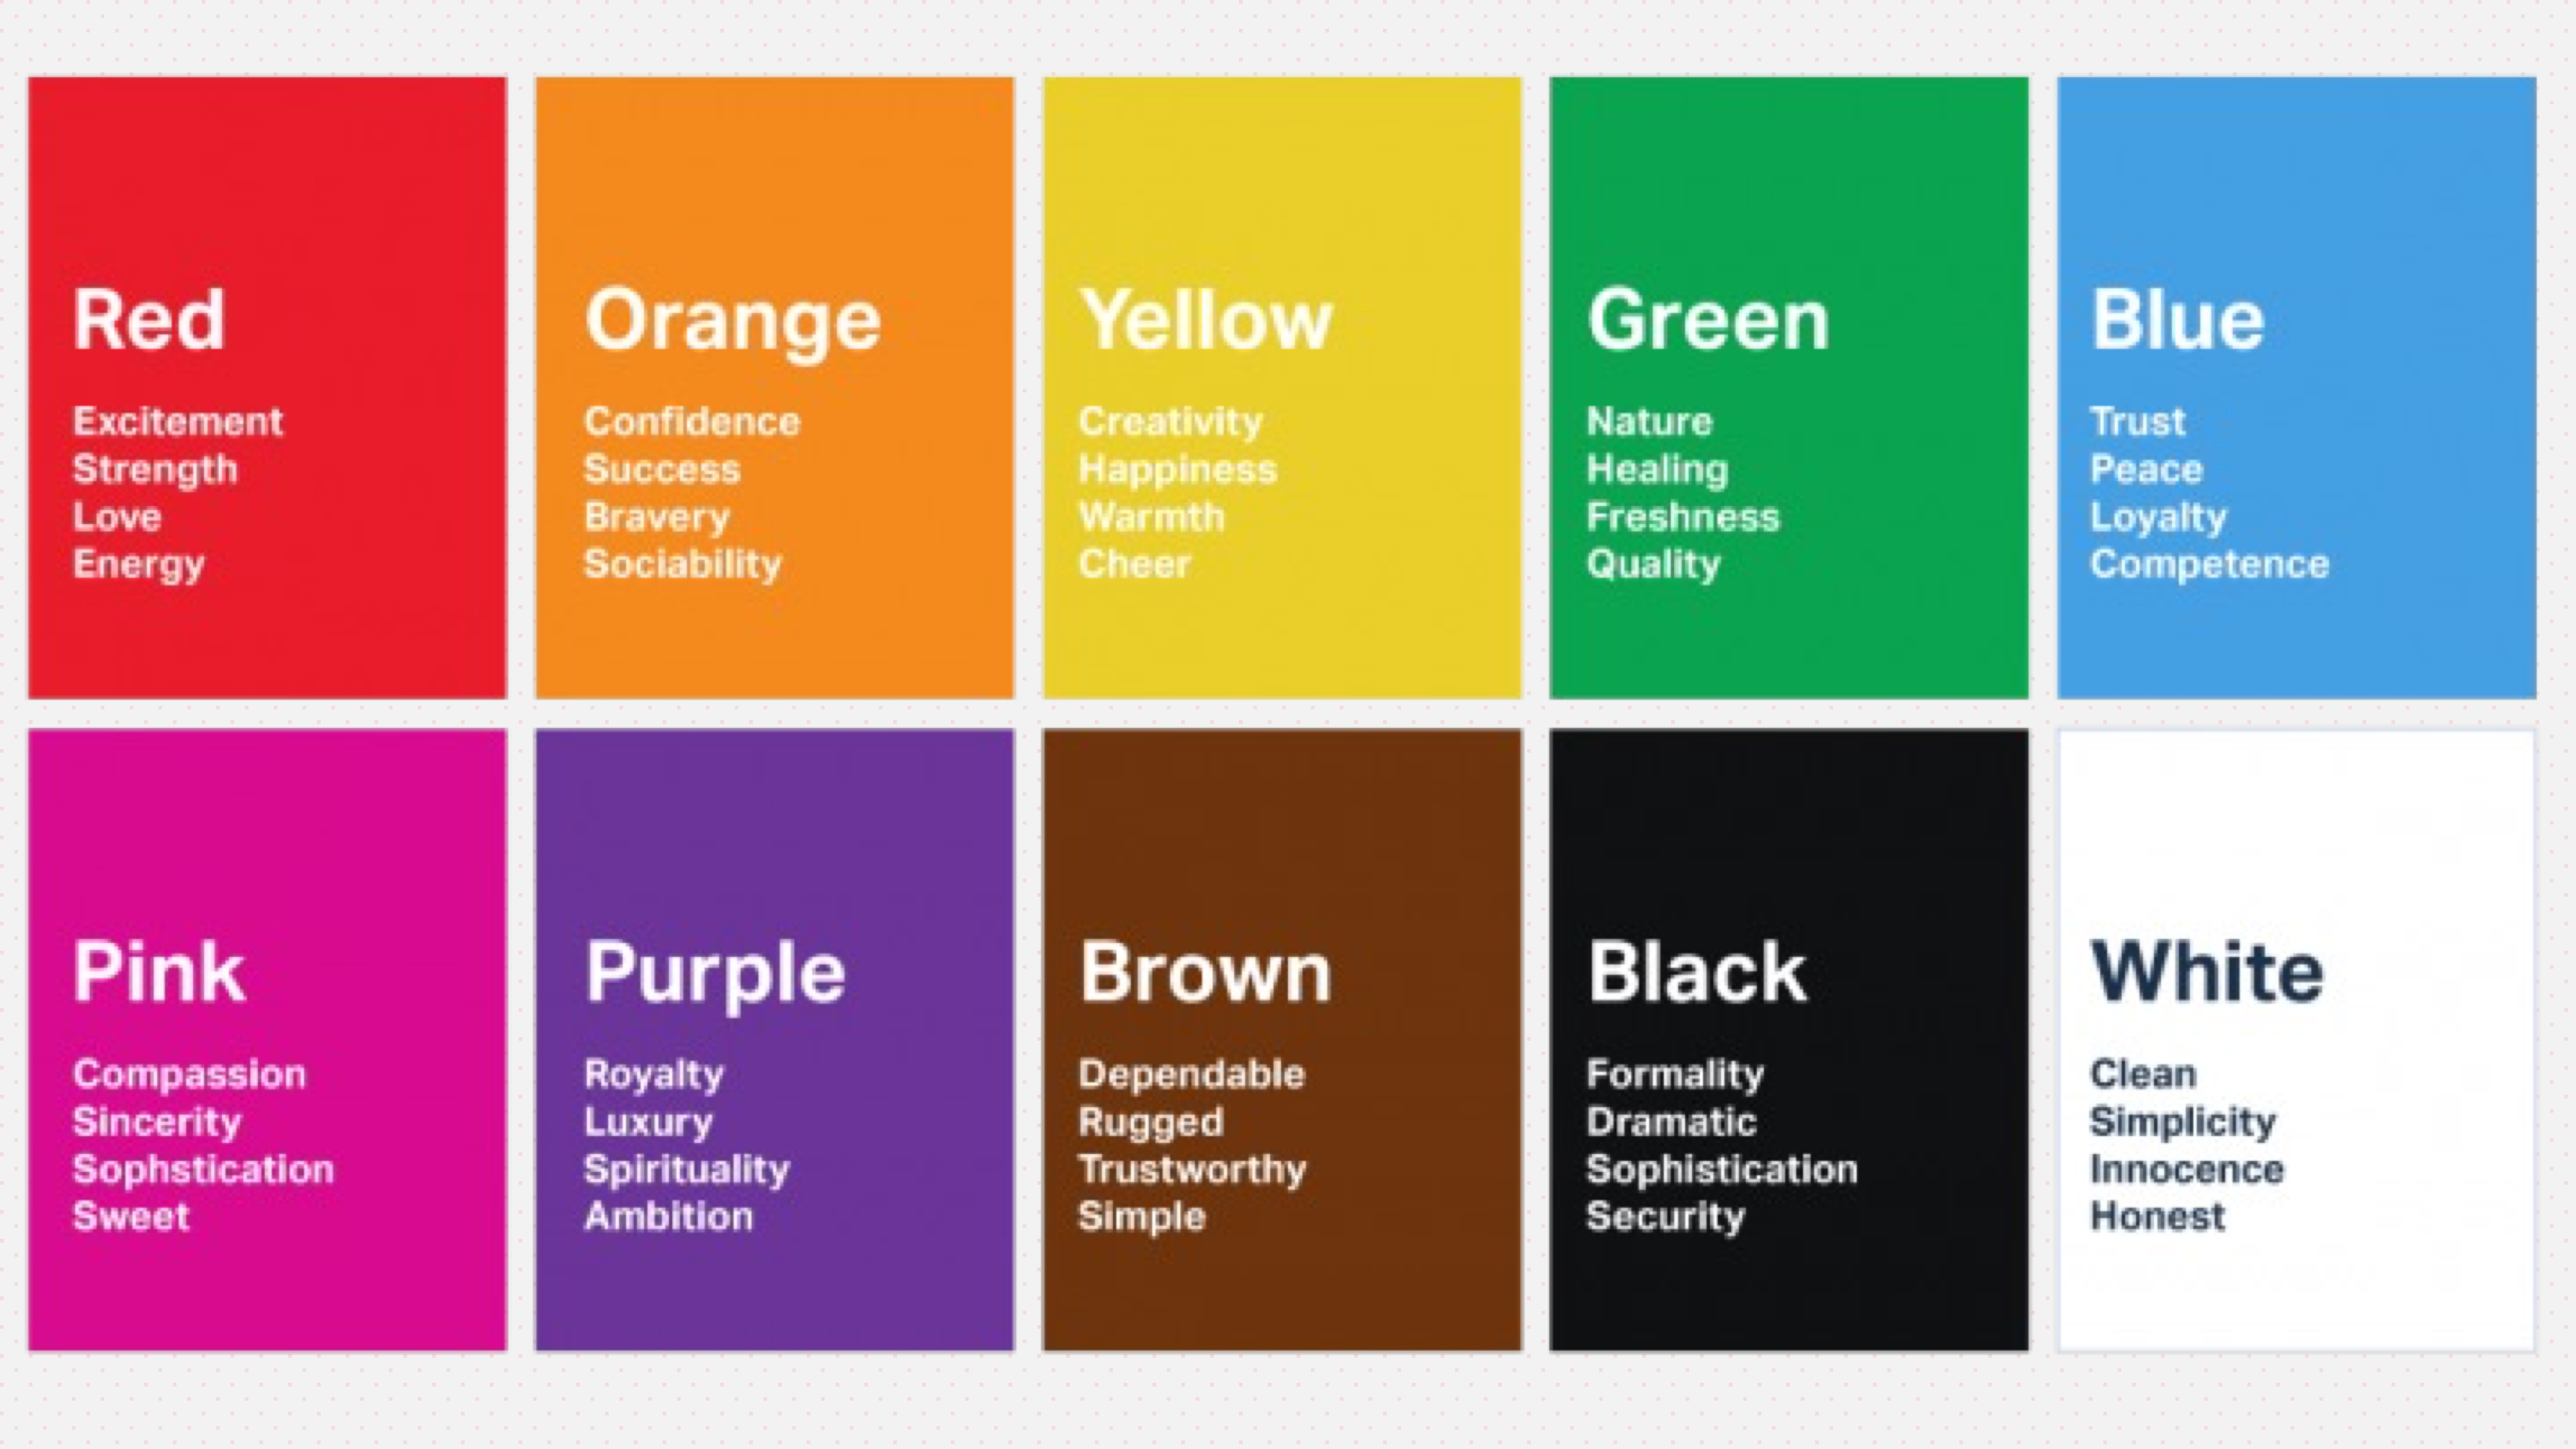
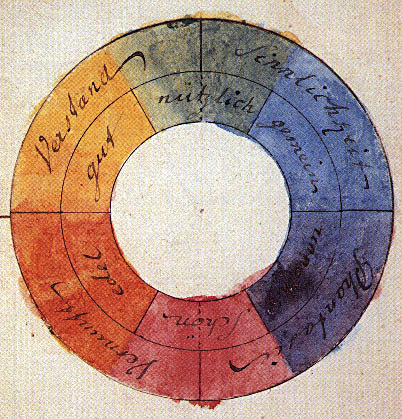
Categorising Colour: Goethe
Categorising Colour: Tobias Mayer
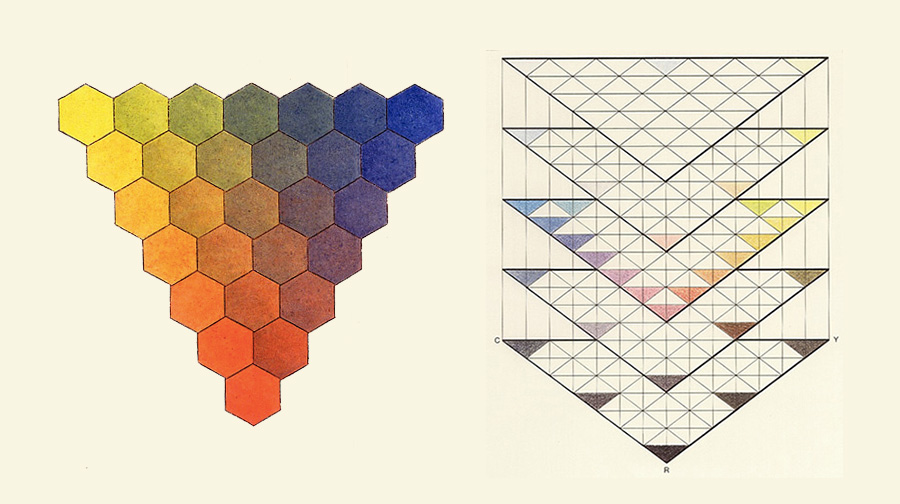
Categorising Colour: Philip Otto Runge
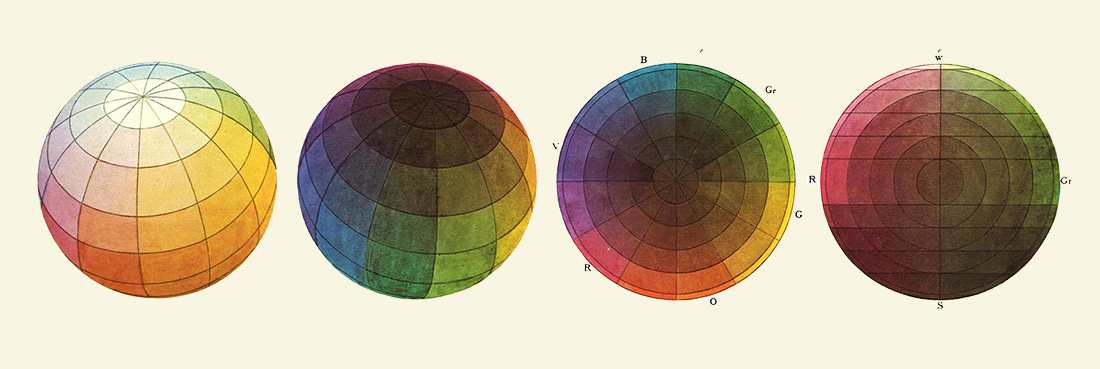
Categorising Colour: Michel Eugène Chevreul
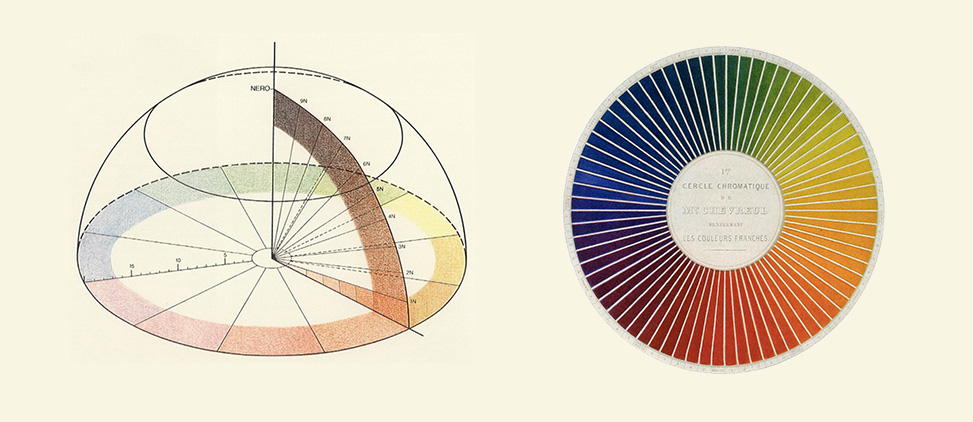
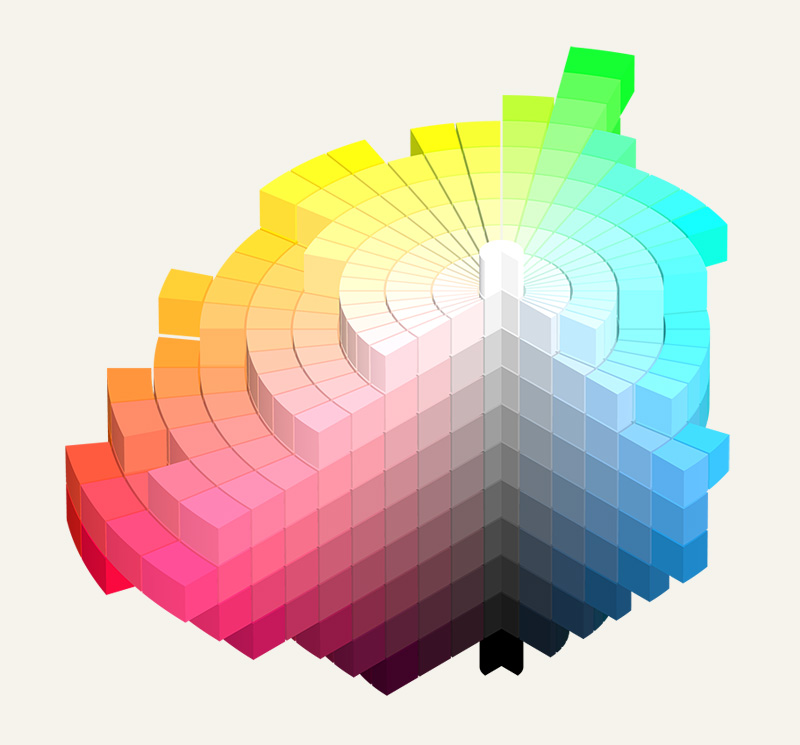
Categorising Colour: Albert Henry Munsell
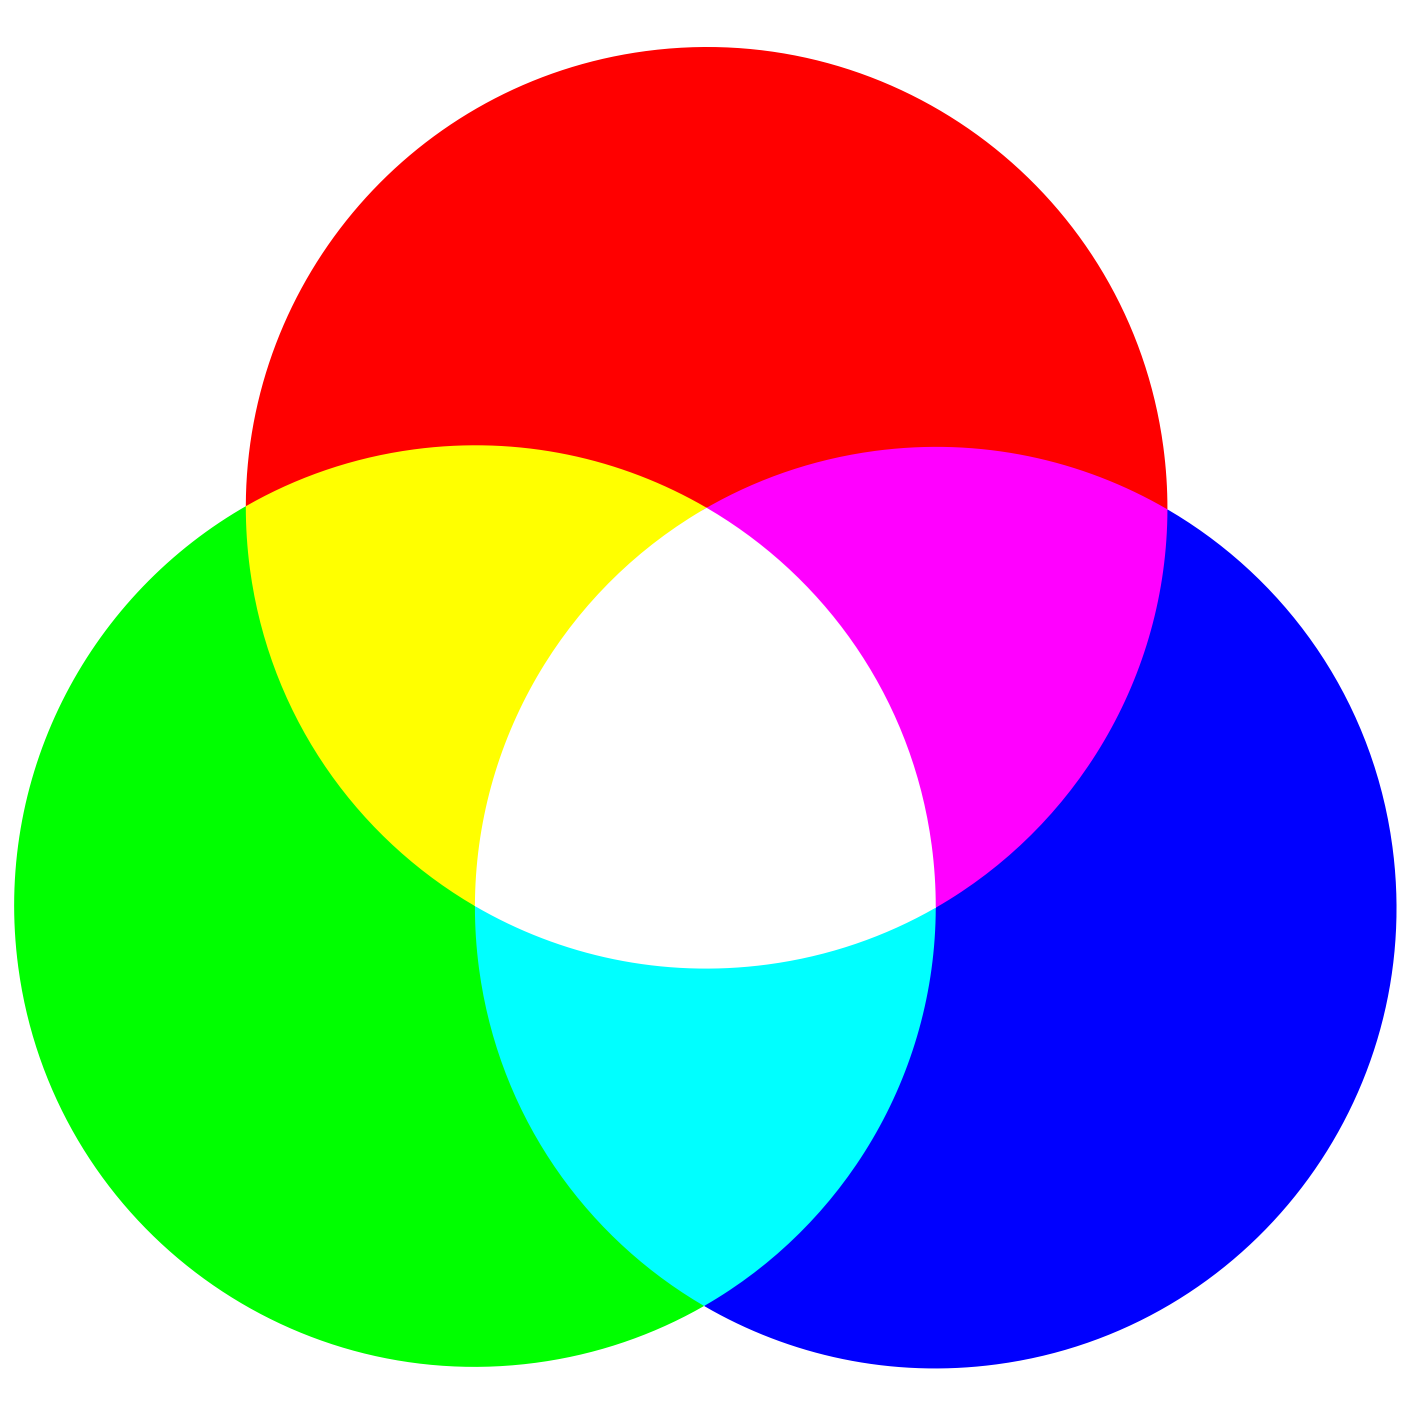
Subtractive and Additive
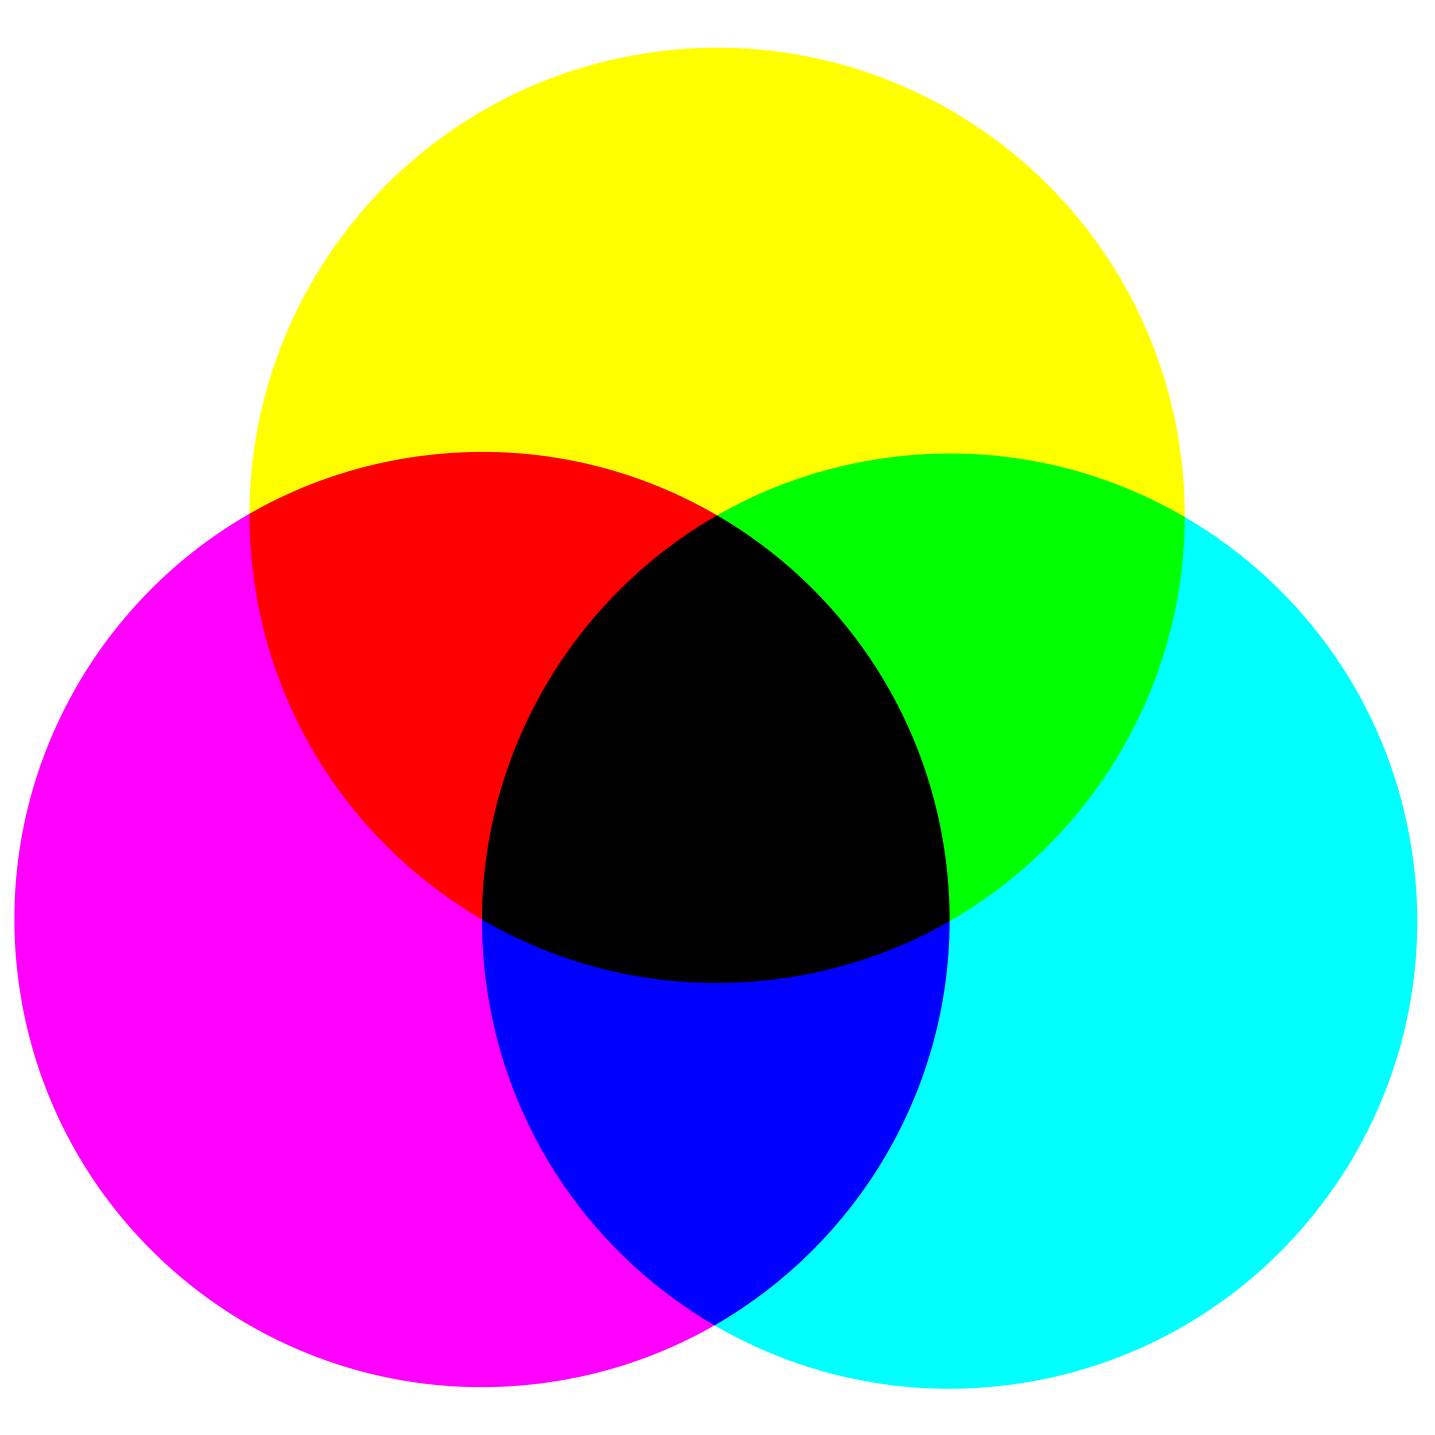
Subtractive
- Color as it is perceived by light bouncing off of material
- Wavelengths are absorbed by the material and reflected to the eye
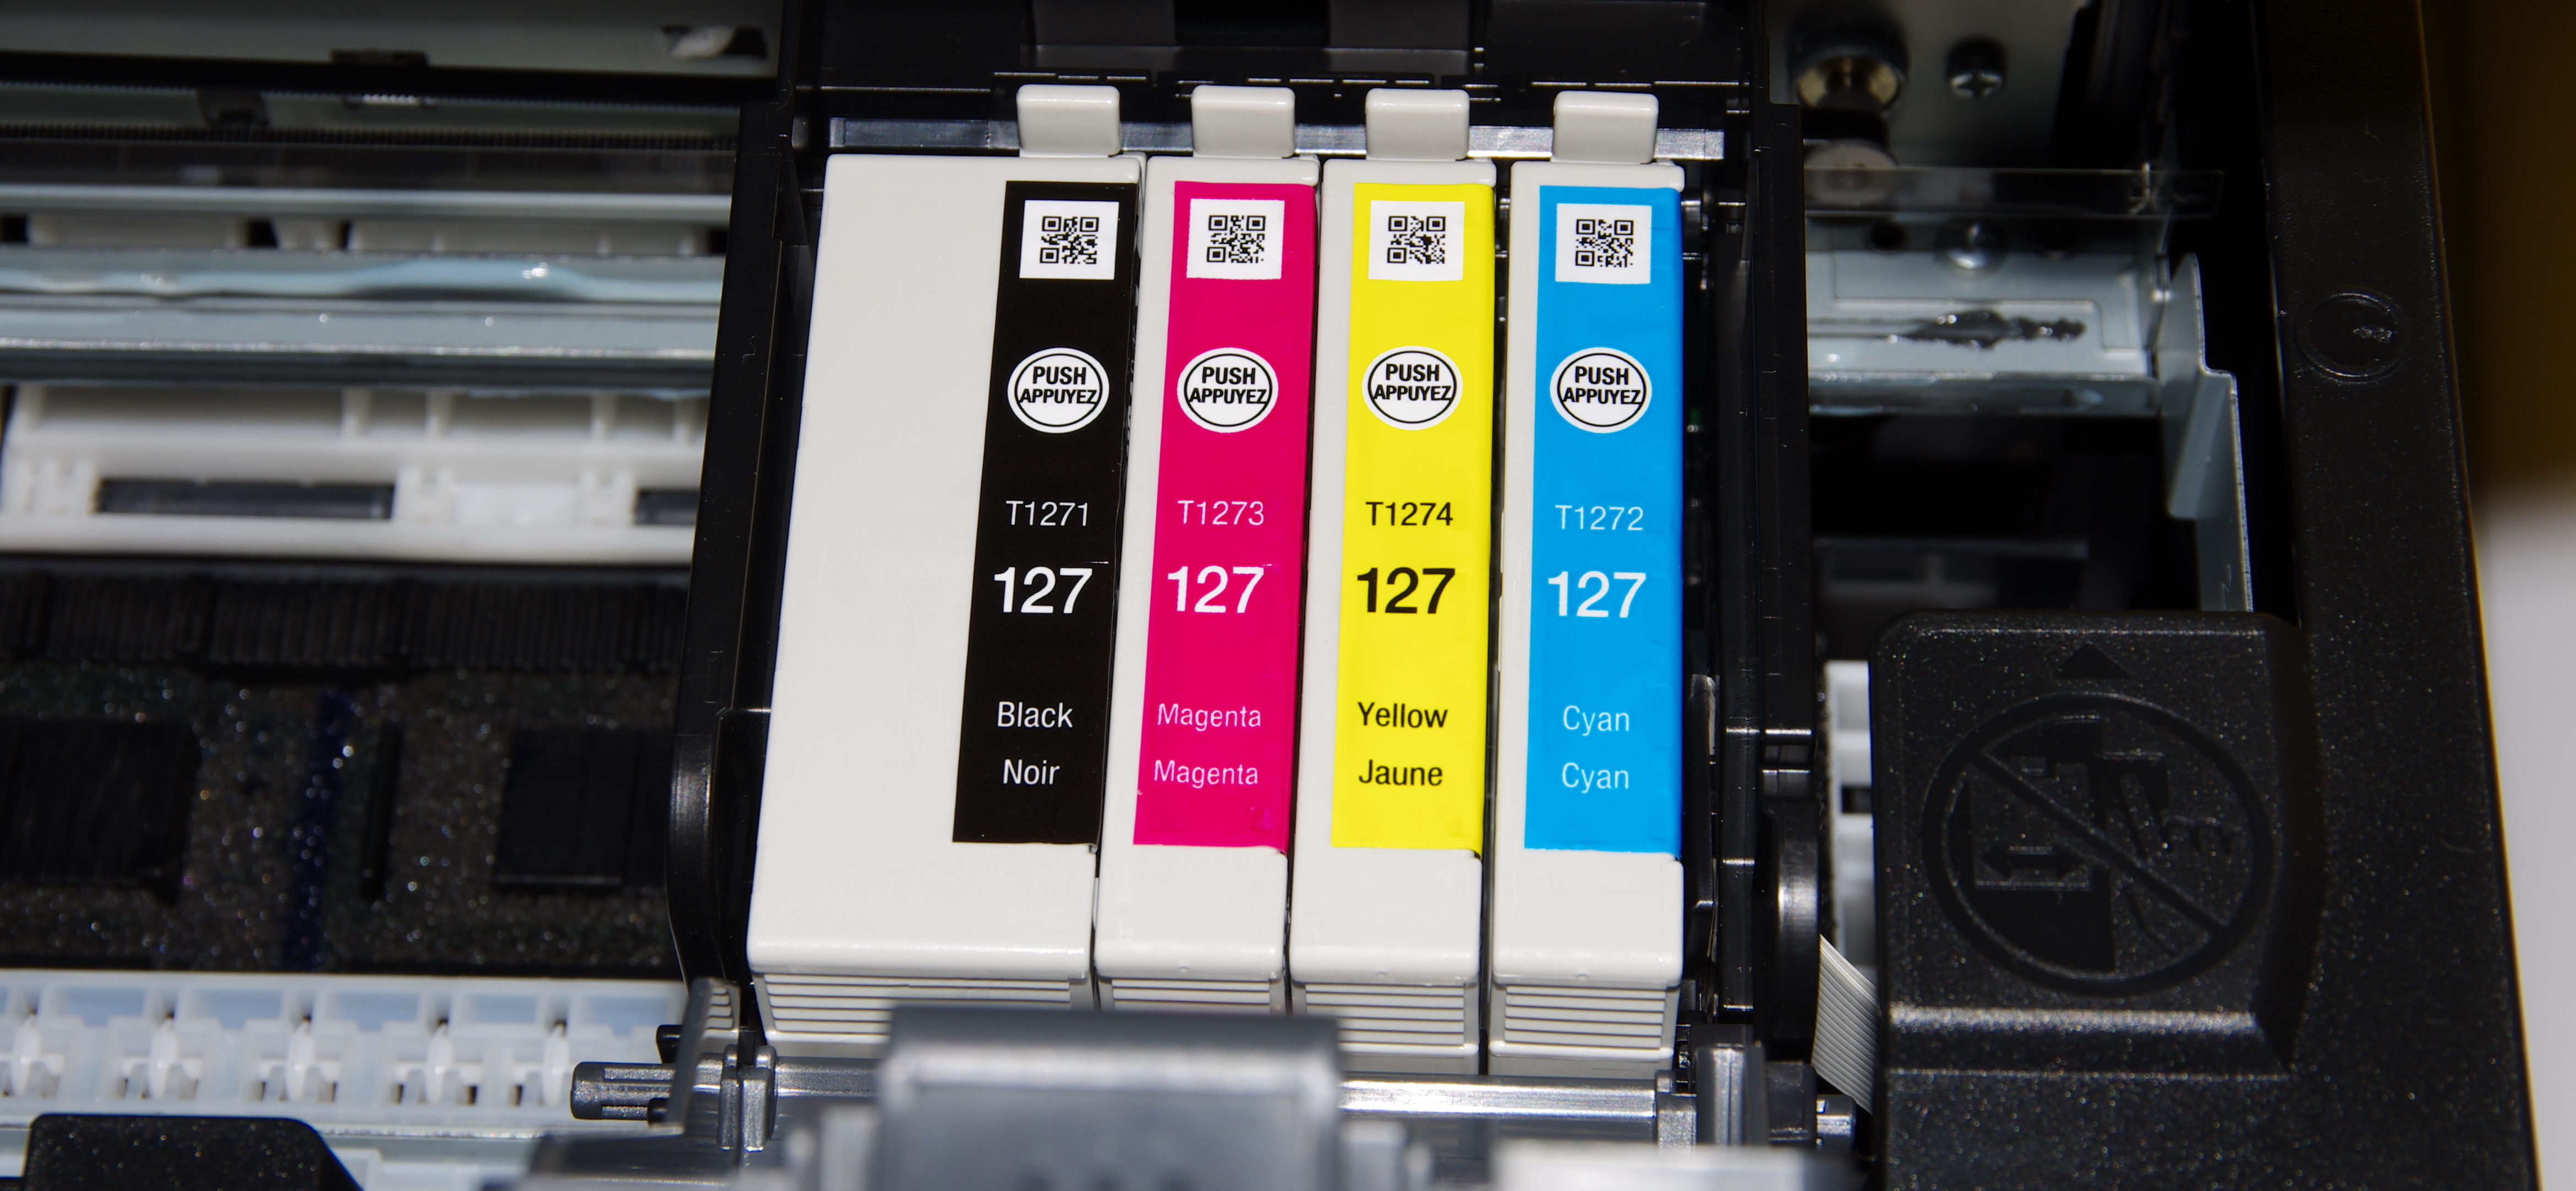
Subtractive example: printing
Additive
- Color as it is perceived by light emitted from a source
- Adding colors together increase the total visible wavelengths, making white
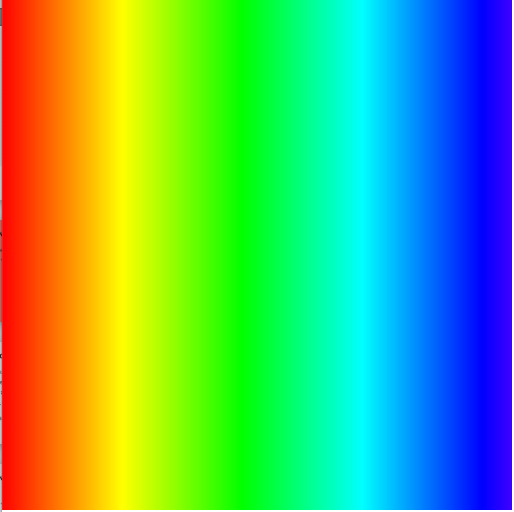
Gradient
Class Assignment: Gradient
With the help of the previous slides, create a sketch that draws a range of distinct colours (e.g. a rainbow)
Convert it to a continuous gradient by using loops to draw many rectangles with slightly different colours

Symmetry