Creative Programming: Sound
Lecture 5 (24 Feb)
(Re)visiting slides?
You can jump to any slide with the menu to the (bottom) left.
Did you miss a slide or want to revisit? Open the narration tab while studying to get an explanation of difficult slides.
![]()
Constraining in action
Class Assignment: Car
- Create a shape that moves with the arrow keys. (Tip: check the reference!)
- Use one of the constraining techniques to keep the shape within the canvas boundaries.
- Can you make it so that the shape wraps around the canvas instead of stopping at the edges?

Sound in the real world
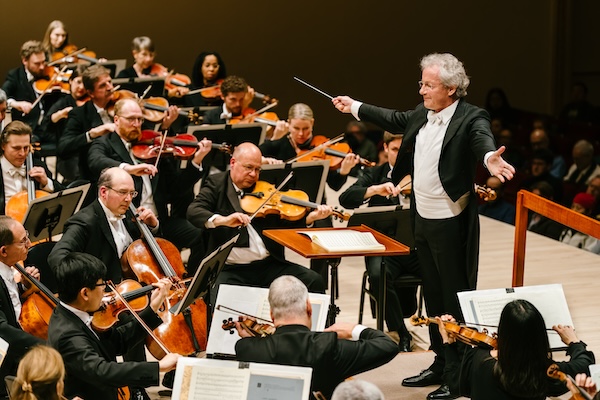

Paint with Music

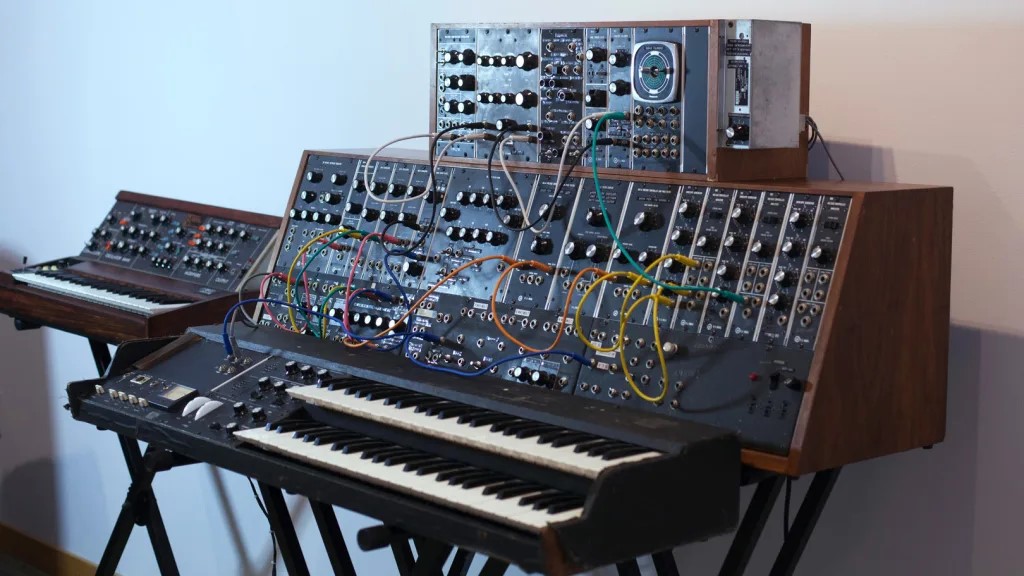
The synthesizer
Downloading the p5js sound library (1)
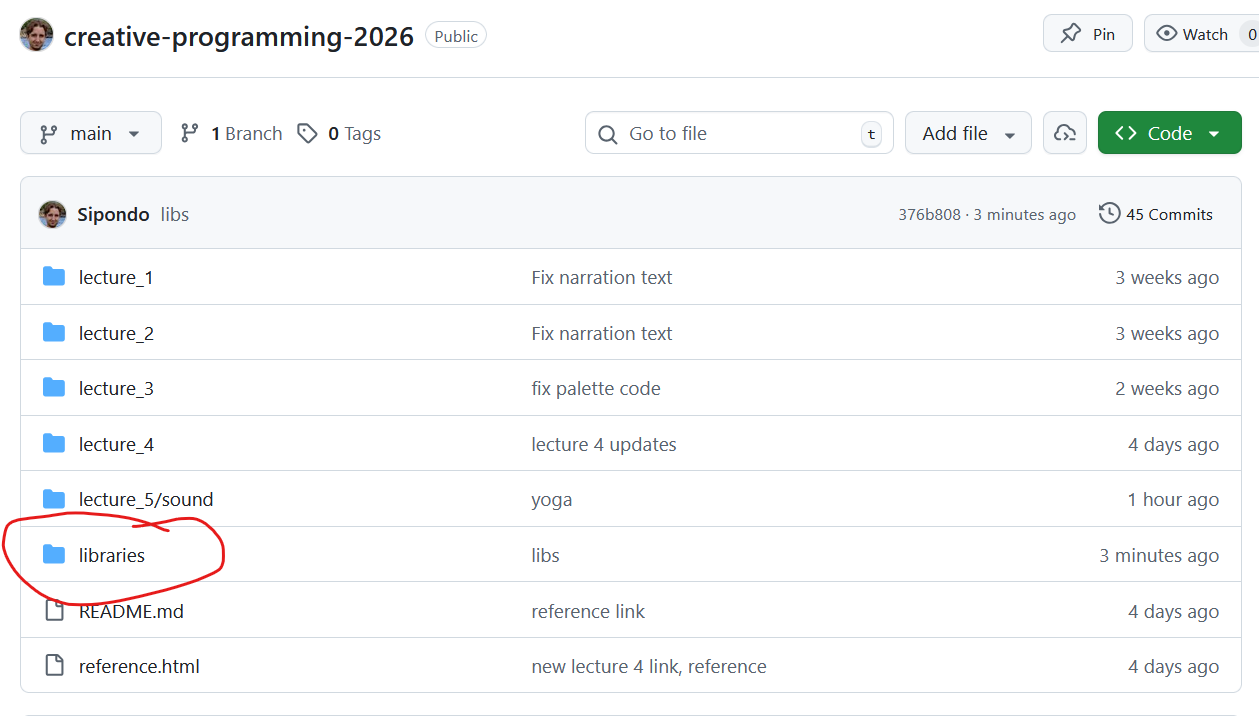
Go to the GitHub repository of the course and click on the libraries folder
Downloading the p5js sound library (2)
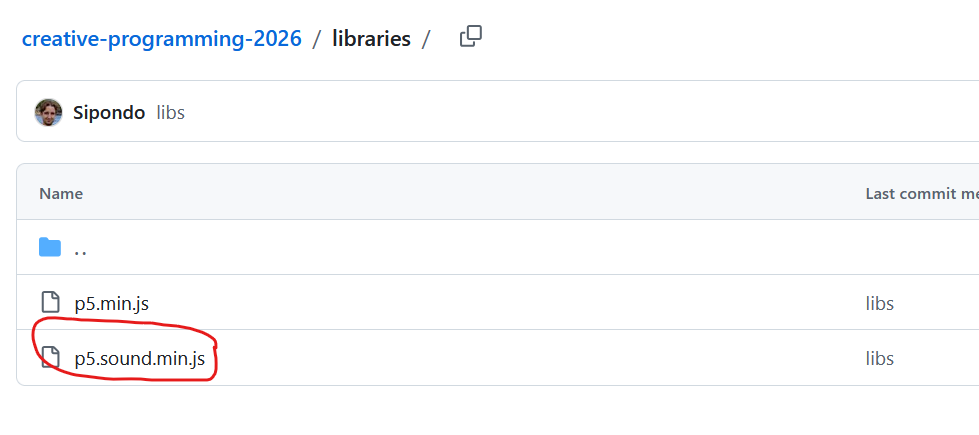
Open the p5.sound.min.js file
Downloading the p5js sound library (3)
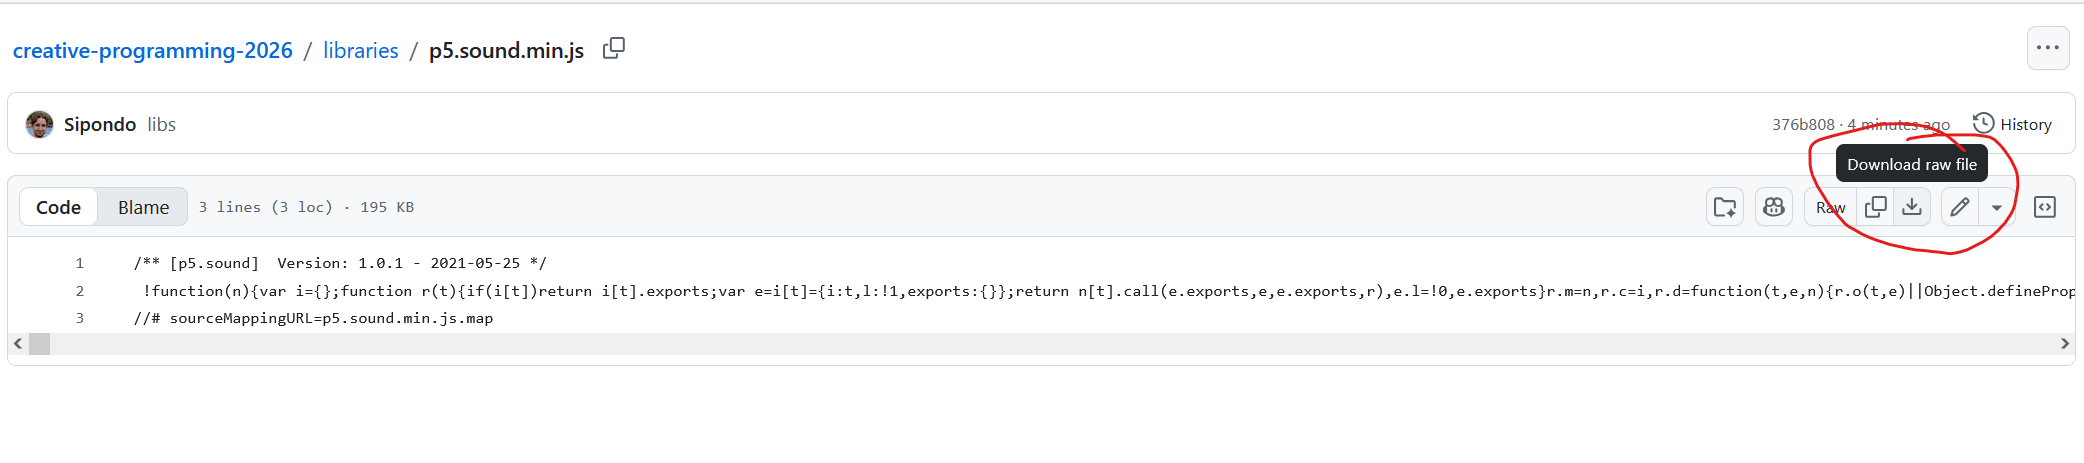
Download the raw file
Putting the p5js sound library in your sketch (1)
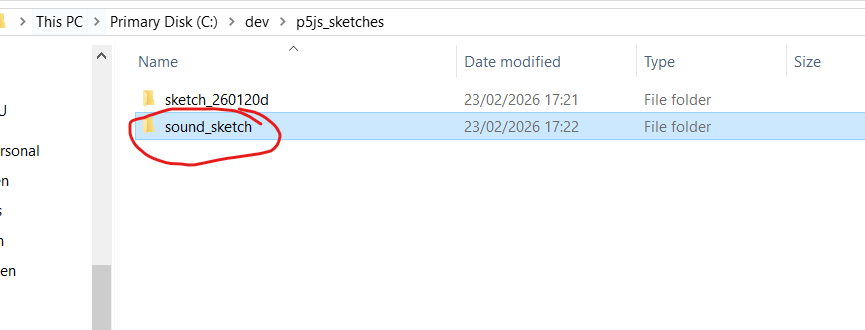
Make your (new) sound sketch and go to its folder
Putting the p5js sound library in your sketch (2)
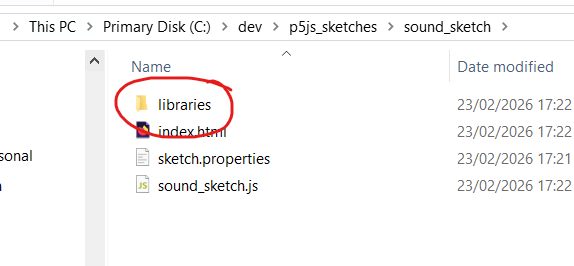
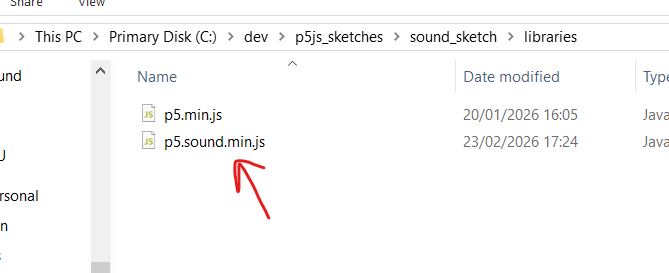
Go to the libraries folder in your sound sketch and put the p5.sound.min.js file there
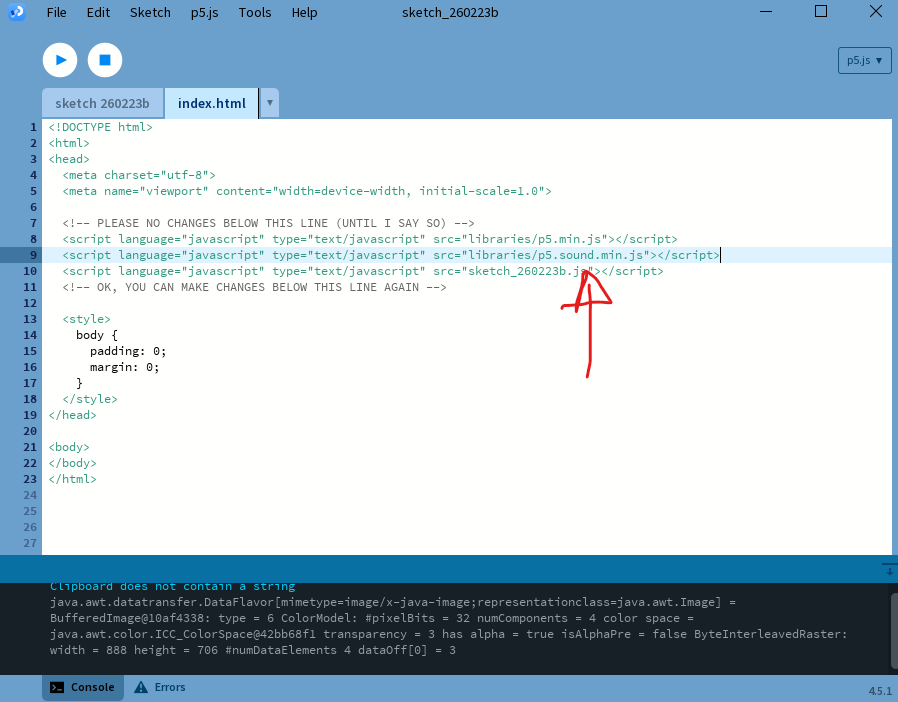
Setting up your sketch HTML (1)

In Processing, open up the index.html file of your sketch
Setting up your sketch HTML (2)
Add the following to your index.html:
Synthesizing!
Class Assignment: Melody
- Set up a synthesizer in p5js and play a note when a key is pressed.
- Store a melody of notes in an array and play it back when a button is pressed instead.
- By using a polySynth, can you play a melody of chords instead of notes?
Sound reactive
Class Assignment: Sound Reactive
- Set up a microphone input in p5.js and use the volume level to control a visual element (e.g. the size of a circle). You can also modify an old sketch!
- Go on one of the free sound websites and find a sound file that you like. Load it into your sketch and play it when a button is pressed.
- Can you make it so that the sound file loops as long as there is sound over the microphone?