Ensuring Reproducibility in R with
renv
I2DS Tools for Data Science Workshop
Prepared by: Nima Thing & Varvara Ilyina
Introduction
Reproducibility is a critical aspect of data analysis and project
development in R. One of the common challenges in ensuring
reproducibility is managing package dependencies and their versions.
This is where renv comes into play.
In this document, we will explore the motivation behind
renv, what renv is, the concept of a library
path, the challenges it addresses, and a step-by-step guide to get
started with renv using the Titanic dataset.
Motivation Behind renv
Have you ever finished a project, revisited it a year later, and wondered:
Why is my
dplyrdata manipulation pipeline suddenly causing an error? I’m sure it was functioning correctly before.What caused my
ggplot2graphs to invert the bars? I distinctly recall them working as expected in the past.
What is renv?
renv is an R package that provides an isolated package
library for R projects. It allows you to capture and manage the packages
and their versions specific to a project, ensuring consistency across
different environments.
Isolated:
Each project is assigned its own library of R packages, so you can upgrade and change package versions in one project without worrying about it impacting your other projects.
Portable:
A lockfile captures the state of your R packages, allowing you to more easily share and collaborate on projects with others, and ensures that everyone is working from a common base.
Reproducible:
Use renv::snapshot() to save the state of your R library
to the lockfile renv.lock. You can later use
renv::restore() to restore your R library exactly as
specified in the lockfile.
The Library Path
The library path refers to the directory where project-specific R packages are stored. It is separate from the global R library, ensuring that your project’s package versions do not interfere with other projects.
An R session can be configured to access multiple library paths, which are essentially predefined directories that R searches when it needs to locate and load a package.
The .libPaths() function can be used to both retrieve
and modify the library paths for your specific R session.
## [1] "/Library/Frameworks/R.framework/Versions/4.3-arm64/Resources/library"User library: It is the folder where packages we choose to download and install normally get installed.
System library: It is the folder, where R’s default packages are stored.
Site library: It is the place where packages managed by administrators are stored
The Challenge
Without an isolated package library, projects might use different package versions, leading to inconsistencies and reproducibility issues. This can make it challenging to share and reproduce your work.
The Solution: renv
renv solves this challenge by providing a
project-specific library path. It allows you to capture and manage the
exact package versions used in your project, making it easy to reproduce
the environment in different locations.
Getting Started with renv
Let’s walk through the process of setting up a basic R project using
renv.
This tutorial focuses on the step-by-step process of setting up
renv from scratch. However, it’s worth noting that you can
also install and activate renv at any phase of your
project.
For the purpose of this tutorial, we would be utilizing titanic_test.R file, which creates a basic bar plot to visualize the Titanic survivor counts by class. However, we encourage you to experiment any other code that you have been working on.
Sample Titanic Code:
# Install packages if needed
#if(!require(dplyr, ggplot2)){
#    install.packages(c("dplyr", "ggplot2"))
#}

# Load necessary libraries
library(dplyr)
##
## Attaching package: 'dplyr'## The following objects are masked from 'package:stats':
##
## filter, lag## The following objects are masked from 'package:base':
##
## intersect, setdiff, setequal, unionlibrary(ggplot2)
# Load the Titanic dataset from the 'titanic' package
data("Titanic", package = "datasets")
# Convert the dataset to a data frame for easier manipulation
titanic_df <- as.data.frame(Titanic)
# Display the first few rows of the data
head(titanic_df)# Filter the data to show only passengers who survived
survivors <- titanic_df %>%
filter(Survived == "Yes")
# Calculate the count of survivors by passenger class
survivor_counts <- survivors %>%
group_by(Class) %>%
summarise(Count = sum(Freq))
# Create a bar plot to visualize the survivor counts by class
ggplot(data = survivor_counts, aes(x = Class, y = Count, fill = Class)) +
geom_bar(stat = "identity") +
labs(title = "Number of Titanic Survivors by Class",
x = "Class",
y = "Count") +
theme_classic()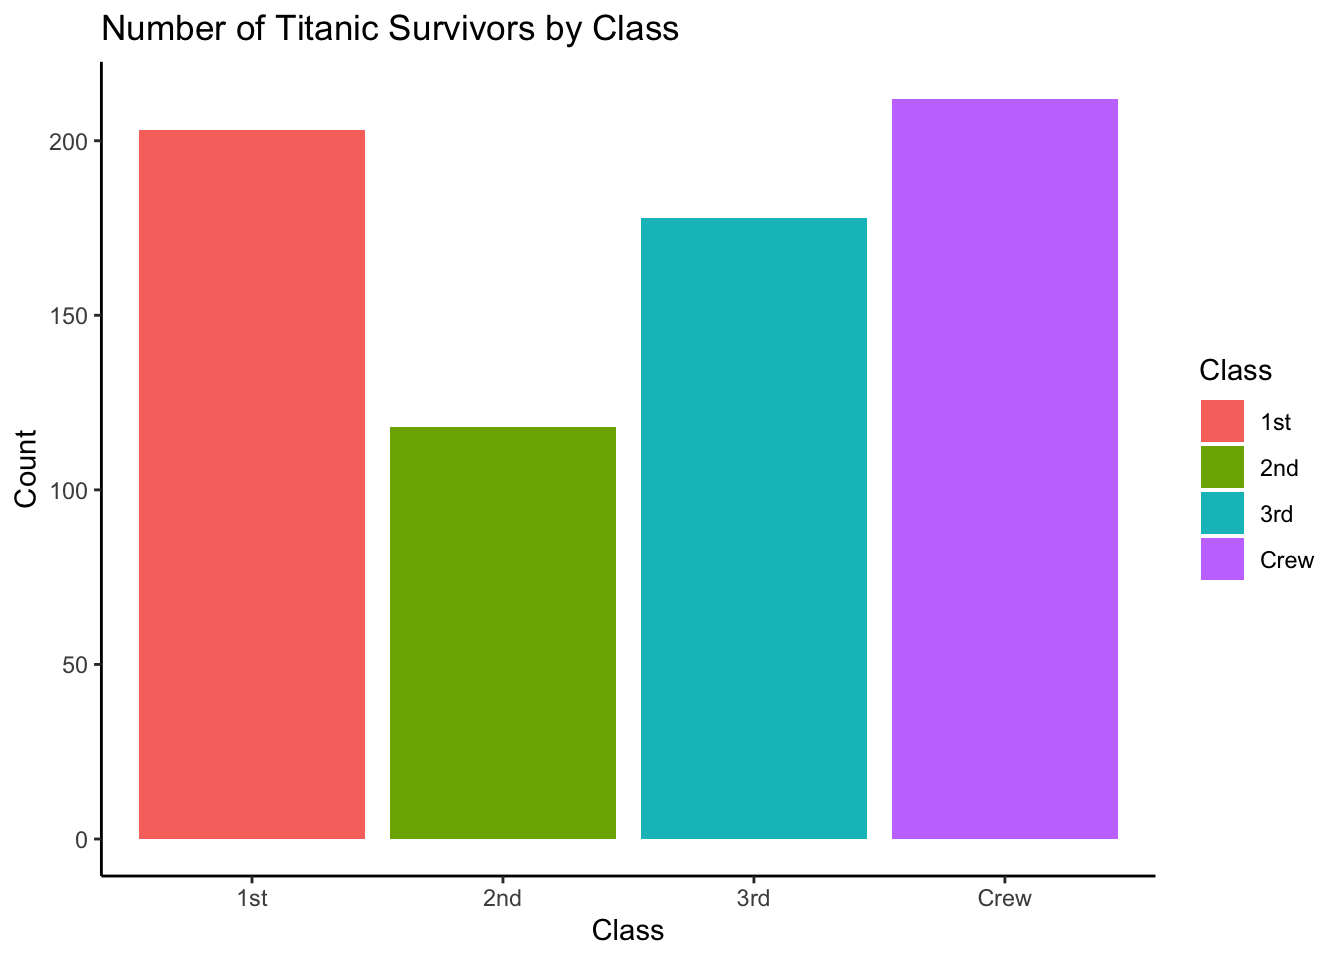
1. Install renv
If you haven’t already installed renv, you can do so
using the following command:
3. Install / Remove Packages
4. Initialize a New Project Environment
After configuring the project, we should save the configuration into a lockfile, in which all packages versions are recorded.
We can also check the status of the library with:
## There are no packages installed in the project library.
## Use `renv::restore()` to install the packages defined in lockfile.
If after continuing to make changes to the packages once the lockfile has been created, we would like revert to the previous state (as recorded in the lockfile), we can use:
5. Push the Code to Github Repository
Initialize the R project folder as a Git project, and push it to a remote with the following set of commands.
To streamline the GitHub setup process, we recommend initiating your project in R or cloning an empty GitHub repository from the start. This approach minimizes authentication concerns. It’s important to note that as of August 13, 2021, support for password authentication was discontinued by GitHub. This means that you’ll need to rely on the Personal Access Token method for authentication. If you are using GitHub Desktop in conjunction with R’s git setup, authentication is usually handled seamlessly.
# Initialize a Git repository
git init

# Add all files to the staging area
git add .

# Commit the changes with a message
git commit -m "Initial commit"

# Add a remote repository (change the URL to your actual GitHub repository)
git remote add origin https://github.com/<your_username>/<your_project>.git

# Push the changes to the 'main' branch on the remote repository
git push -u origin main
Assuming you did everything correctly, you’ll see the R project pushed to the Main branch:
6. Restore your R Environment with a Single Command
Let’s start by cloning the repository into a new folder –
newproject:
When you open this project in RStudio, you’ll notice that
renv is already initialized and installed. It will prompt
you to check the status and ensure that everything is in order. To
proceed, simply run the following command:
Once you’ve executed this command, you’ll be all set to continue with your project.
Summing Up
In conclusion, you’ve now experienced how straightforward it is to
manage project package dependencies within R environments. You’ve
explored the functionality of three fundamental renv
functions: activate(), snapshot(), and
restore().
Through a hands-on example, you’ve gained an understanding of how
each of these functions operates, and hopefully, you now have a deeper
appreciation for the convenience that renv brings to your
projects.